Ever scrambled up a rock face only to realize your pitons are about as reliable as last year’s New Year’s resolutions? Yeah, us too. Choosing the right climbing gear can make or break an adventure—literally.
In this post, we’ll dive deep into soft iron pitons for placement, unpacking why they matter, how to use them effectively, and what mistakes you should avoid like spilled chalk on your shoes. You’ll walk away knowing everything from proper technique to field-tested tips—and maybe even how not to screw it all up.
Table of Contents
- Key Takeaways
- Why Soft Iron Pitons Matter?
- Choosing Your Pitons
- Placement Best Practices
- Examples from the Field
- FAQs About Soft Iron Pitons
Key Takeaways
- Soft iron pitons offer versatility but require precision during placement.
- Understand material characteristics to maximize durability and safety.
- Become familiar with common placement errors before heading out.
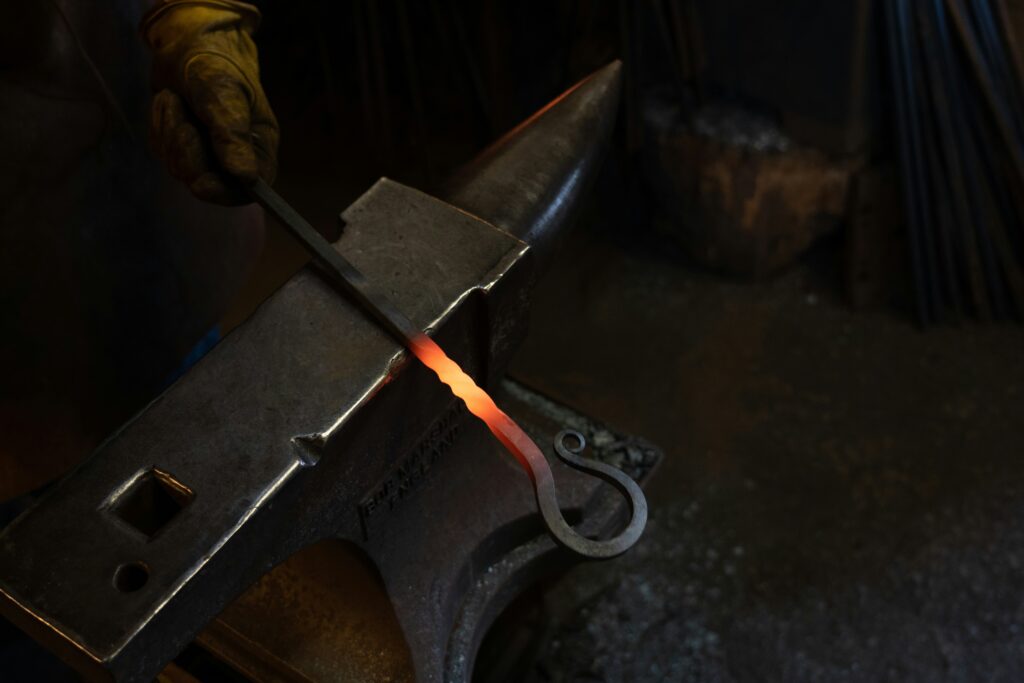
Why Soft Iron Pitons Matter?
“Optimist You:” I’m sure my piton will hold.
“Grumpy You:” Ugh, do you *really* want to trust that assumption halfway up El Capitan?
Climbers often overlook the nuances of their gear until something goes wrong. That one time in Yosemite when I misplaced a hard steel piton instead of using a malleable soft iron option? Let’s just say Mother Nature laughed harder than me at my rookie mistake.
The key advantage of soft iron pitons lies in their ability to deform slightly under pressure, wedging tightly into cracks where other materials might fail. But here’s the catch—they need perfect placement. One slip-up could leave you dangling precariously while humming *I Will Survive*.
Choosing Your Pitons
How Do You Pick the Right Size?
- Assess Crack Width: Bring along multiple sizes (¼”, ⅜”, etc.) and test fits. Never guesswork this part—it’s like winging avocado toast without checking for ripeness.
- Material Check: Ensure your choice matches conditions. For softer sandstone, always opt for soft iron over brittle alloys.
- Weight vs. Durability: Lightweight models may seem appealing, but don’t skimp if it means risking stability.
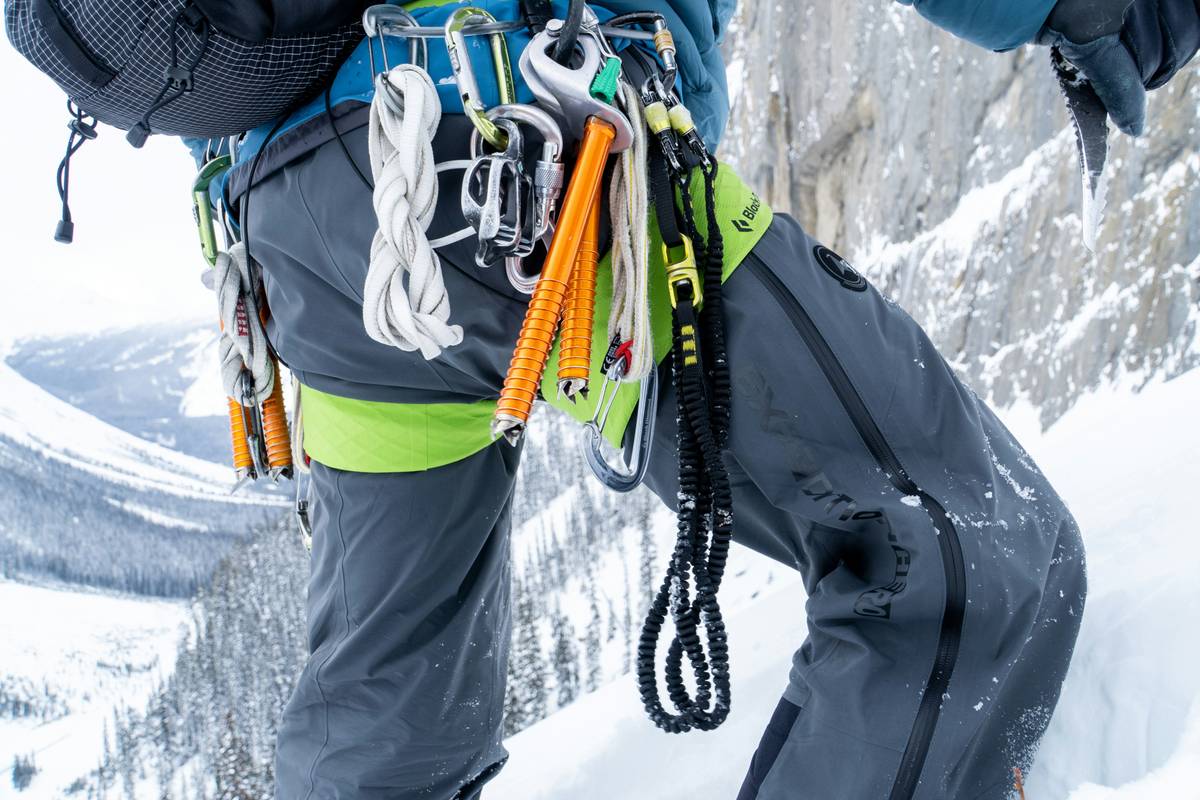
Placement Best Practices
Pro Tip #1: Hammer Gently
Sounds counterintuitive, right? But pounding too hard risks damaging both the piton and surrounding rock. Think gentle taps—a la tuning forks rather than sledgehammers.
Pro Tip #2: Test Stability
Avoid embarrassing mid-climb fails by tugging firmly after insertion. If it wobbles more than gelatin dessert during an earthquake, reconsider its position.
Terrible Tip Alert:
Use WD-40 to “lubricate” tight spots. Spoiler alert: IT DOESN’T WORK AND MAKES A MESS!
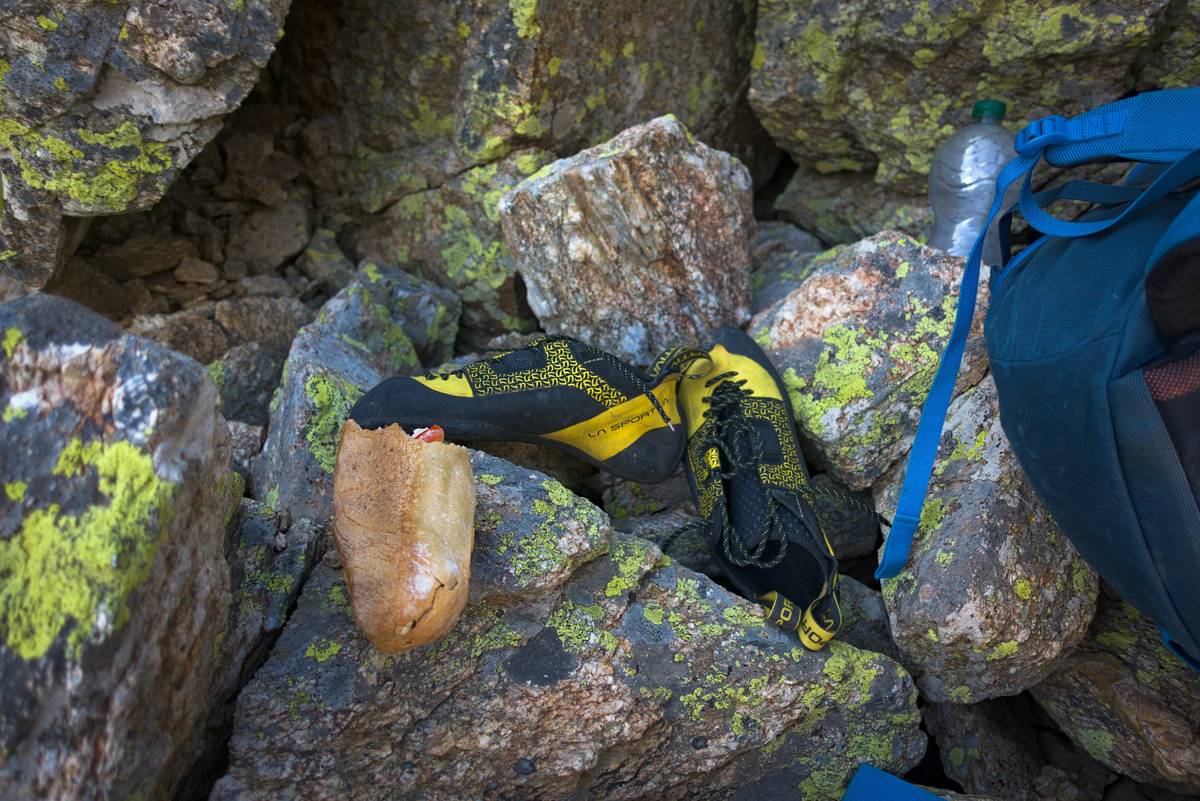
Examples from the Field
Real Talk: Sarah’s Epic Ascent
Sarah used soft iron pitons strategically placed across her route through Red Rocks Conservation Area. With textbook placement techniques, she avoided any slips despite unpredictable weather shifts.
Nightmare Scenario Avoided:
Jake tried skipping steps once—yep, near death ensued. Moral? Always double-check those placements unless free-falling is your thing (spoiler: it shouldn’t be).
FAQs About Soft Iron Pitons
Can I reuse soft iron pitons?
Yes, but inspect carefully each time due to potential metal fatigue.
What happens if I mix metals?
You risk corrosion. Stick to one type per climb; otherwise, chemistry gets weird fast.
Conclusion
Mastering soft iron pitons for placement isn’t rocket science—it’s closer to mastering sourdough bread baking. Patience, practice, and understanding nuances go a long way.
Remember these golden rules: Assess wisely, hammer gently, and never skimp on quality. Now go forth and conquer those climbs—but maybe bring a backup plan, yeah?
Final thought: Like Pokémon cards circa ’99, good climbing gear never truly goes out of style.
Steep cliffs rise,
Pitons snugly fit.
Adventure whispers higher.