Ever tried to remove a stubborn piton with the wrong gear and nearly lost your grip halfway up a cliff? Yeah, it’s as terrifying as it sounds.
In this guide, we’ll explore everything you need to know about using brass nut tool for pitons—from solving common frustrations to mastering advanced techniques so you can climb with confidence. You’ll learn what makes these tools indispensable, how to pick the right one, and expert tips to get the most out of it.
Table of Contents
- Why Brass Nut Tool for Pitons Matters
- Step-by-Step Guide to Using a Brass Nut Tool for Pitons
- Tips and Best Practices
- Real-World Examples
- FAQs About Brass Nut Tools for Pitons
Key Takeaways
- Brass nut tools are essential for safely removing and placing pitons without damaging them or the rock.
- Choosing the right tool depends on factors like material durability and ergonomics.
- Using proper technique prevents accidents and extends the lifespan of your equipment.
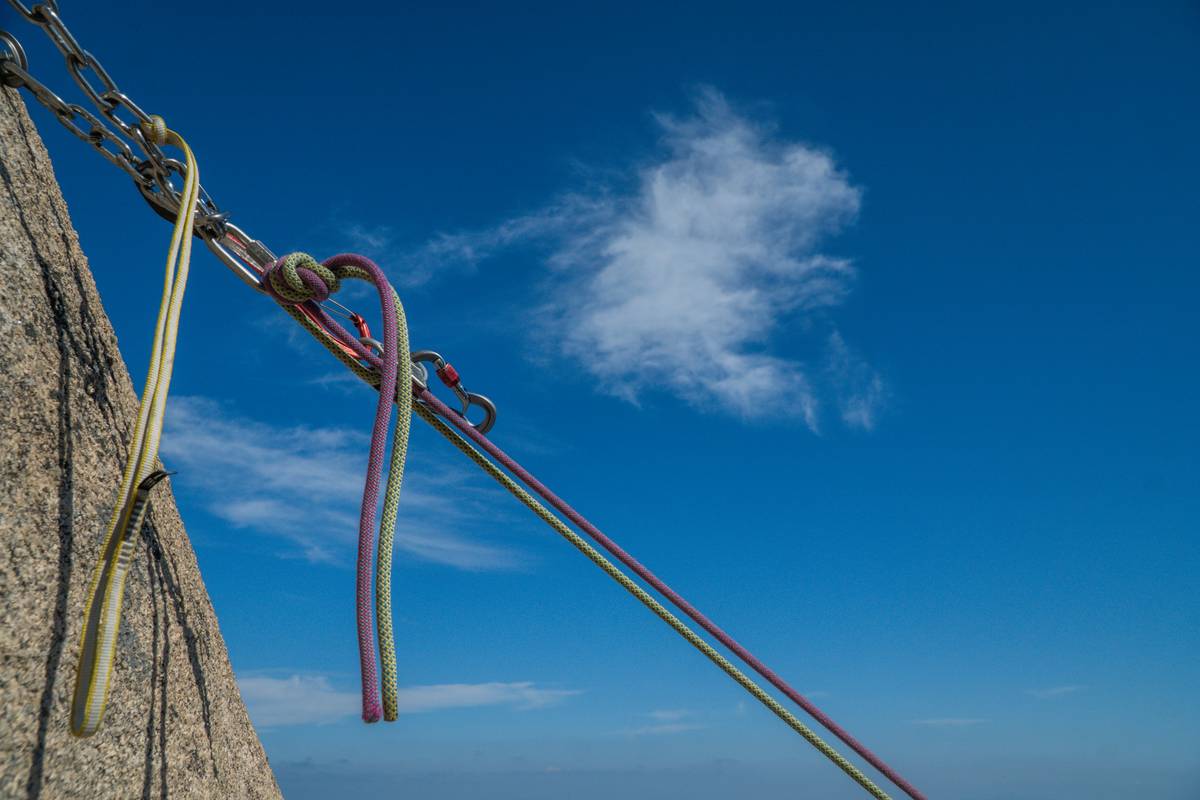
Why Brass Nut Tool for Pitons Matters
Let me tell you about that time I almost had a panic attack at 20 feet off the ground. Picture this: I’m hanging by my fingertips above a jagged edge, trying to extract a piton someone else hammered in ages ago. Without a proper nut tool, I ended up scratching the heck out of both the piton and the surrounding rock—and barely managed not to plummet. (Yeah, it was an adventure…but not the fun kind.)
If you’ve ever faced this struggle, you know how frustrating—and dangerous—it can be. That’s where the humble yet mighty brass nut tool for pitons comes in. Unlike steel tools, brass is softer than most climbing metals, making it perfect for delicate extractions while preserving both your equipment and the environment.
Sounds like butter on toast when done right—a seamless extraction every single time.
Step-by-Step Guide to Using a Brass Nut Tool for Pitons
Optimist You: “I’ve got this!”
Grumpy You: “Coffee first, then maybe.”
But seriously, let’s dive into the nitty-gritty:
Choose the Right Tool
Not all brass nut tools are created equal. Look for:
- Ergonomic handles for better grip.
- Durable construction that balances strength and gentleness.
- Compact size for portability.
Position Yourself Safely
Always secure yourself before attempting to manipulate any fixed gear. Safety first!
Insert and Twist Gently
Use slow, deliberate movements to avoid snapping the metal or harming the rock face.
Tips and Best Practices
- Inspect Regularly: Check your tool for wear and tear after each climb.
- Keep It Clean: Dirt buildup can reduce its effectiveness.
- Avoid Overusing It: Don’t force things—if it won’t budge, call in reinforcements.
Pro tip: Label your stuff with bright tape. Trust me; nothing’s worse than losing your brass nut tool mid-climb.
Real-World Examples
Take Sarah, a seasoned climber who swears by her trusty brass nut tool. On her recent expedition to Yosemite, she saved hours extracting old pitons left behind decades ago—all thanks to her go-to brass nut buddy.
Rant moment: People hammering in too many unnecessary pitons drive me nuts. It’s chef’s kiss for wrecking beautiful routes. Use fewer bolts, people!

FAQs About Brass Nut Tools for Pitons
What Makes Brass Better Than Steel?
Brass won’t scratch harder metals, reducing damage risk during use.
Can I Make My Own Brass Nut Tool?
You *could*…but why bother? Store-bought ones are safer and more effective.
Is This Tool Worth Its Price Tag?
Absolutely. Consider it insurance against costly mistakes and ruined climbs.
Conclusion
We covered a ton here: why brass nut tool for pitons is crucial, step-by-step usage instructions, tips from pros, and inspiring stories from climbers like Sarah. Remember, investing in quality gear pays off big-time in safety and peace of mind.
So now it’s over to you. Grab your gear, hit those cliffs, and make sure your brass nut tool becomes part of your essentials kit. And hey, don’t forget your coffee flask—it fuels the soul (and keeps grumpy You happy).
Like finding hidden treasure,
Your next epic climb awaits.
Coffee optional.

