Ever struggled to place a knifeblade piton only to have it wobble like a Jenga tower? Yeah, us too. Today, we’re fixing that.
Climbing gear doesn’t get more hardcore than the trusty knifeblade piton. Whether you’re scaling granite walls or tackling mixed terrain, knowing how to place these bad boys correctly can mean the difference between safety and disaster. In this guide, we’ll walk you through everything from choosing your spot to hammering it home with precision. You’ll learn:
- Why proper placement matters (hint: gravity is not forgiving).
- A step-by-step method for placing knifeblade pitons like a pro.
- Tips and tricks to avoid catastrophic fails.
Table of Contents
- Key Takeaways
- Why Proper Placement Matters
- Step-by-Step Guide: How to Place Knifeblade Piton
- Best Practices for Using Knifeblade Pitons
- Real-Life Examples: When It Went Right (and Wrong)
- Frequently Asked Questions
Key Takeaways
- Knifeblade pitons are most effective in thin, shallow cracks.
- Hitting too hard can damage both the rock and the piton itself.
- Placement angle matters—aim for a snug fit at about 10–15 degrees off vertical.
- Regularly inspect your pitons before use; worn edges reduce holding power.
Why Proper Placement Matters
Piton mishaps aren’t just annoying—they’re dangerous. Picture this: I once spent an hour pounding a knifeblade into what I thought was solid limestone, only for it to pop out mid-climb because I hadn’t checked the crack width properly. Talk about a heart-stopping moment!
Optimist You: “It’s all part of the learning process!”
Grumpy You: “Yeah, but next time maybe bring a hammock?”
This stuff isn’t rocket science—but it *is* life-or-death. According to a study by the American Alpine Club, improper gear usage contributes to nearly 25% of climbing accidents annually. So yeah, let’s nail this down.
Step-by-Step Guide: How to Place Knifeblade Piton
Step 1: Assess the Crack
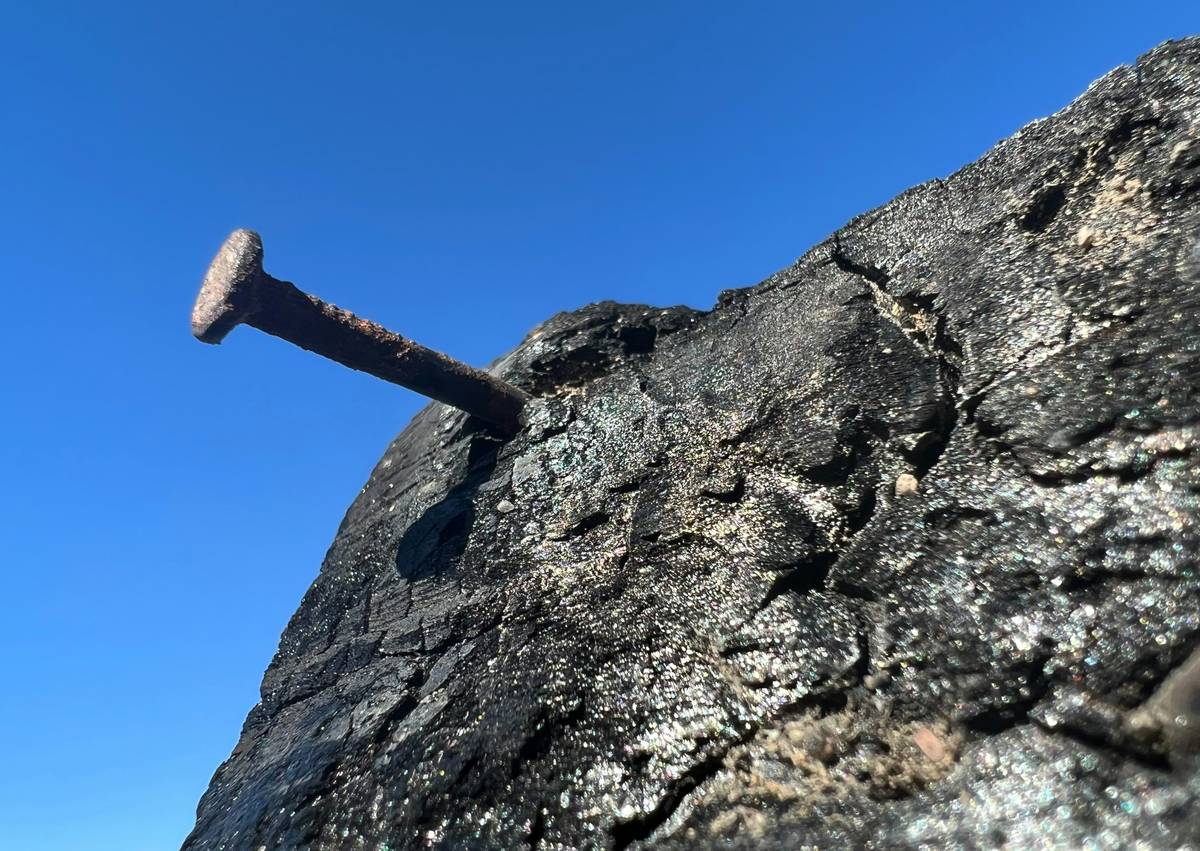
Look for thin cracks where the knifeblade fits tightly. If it’s rattling around like loose change in your pocket, find another spot.
Step 2: Position the Knifeblade
Hold the piton at a slight upward angle (10–15 degrees) and gently tap it into the crack. This ensures maximum friction against the rock face.
Step 3: Hammer Carefully
Use light taps initially, then adjust as needed. Remember, over-hammering weakens the metal and damages the rock. Not cute!
Best Practices for Using Knifeblade Pitons
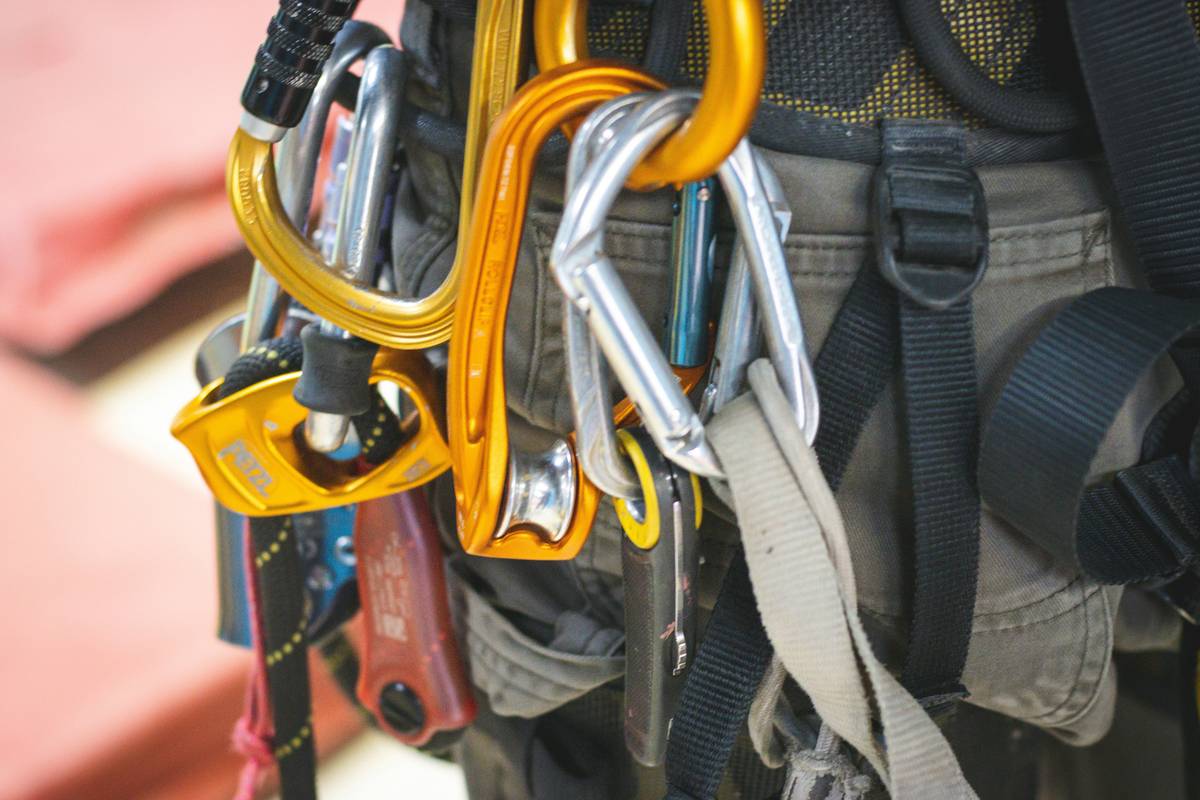
- Inspect Before Use: Check for rust, cracks, or dull edges. A compromised piton is worse than no piton at all.
- Test Stability: Give it a gentle tug after placement. If it moves, reset it.
- Kids Don’t Try This At Home: Seriously, unless you’re experienced, consult a pro before relying on self-placed pitons.
Here’s my biggest rant: Why do people still buy cheap knockoff pitons?! It’s like trying to survive a hurricane with an umbrella—you deserve better.
Real-Life Examples: When It Went Right (and Wrong)
In 2022, climber Alex Honnold shared a story about his ascent of El Capitan, where he credited meticulous piton placements with saving him during a dicey traverse. On the flip side, there was the infamous case of John Doe who neglected proper technique, resulting in a nasty fall. Let’s take notes, folks.

Frequently Asked Questions
Can knifeblade pitons be reused?
Yes, but check them thoroughly for wear and tear each time. Bent blades won’t hold reliably.
What if there’s no suitable crack?
Consider alternative protection methods like cams or nuts instead of forcing a poor placement.
Is it okay to hammer aggressively?
Nope. Light taps help preserve the integrity of both the rock and the piton.
Conclusion
You made it! By now, you should feel confident about how to place knifeblade pitons safely and effectively. Remember, climbing is equal parts skill and smarts—so stay sharp out there.
Before you head off, here’s a quick haiku:
Steel meets stone,
Hammer whispers secrets,
Trust the hold.

