
Ever stared at a wall of icy blue and wondered, “How the heck am I getting up there?” Yeah, us too. And let’s not even talk about that one time I trusted the wrong piton placement—let’s just say my ego took a bigger hit than my glutes after sliding down six feet. If you’re serious about glacier travel, understanding glacier travel pitons isn’t optional; it’s survival.
In this guide, we’ll dissect everything you need to know about these critical climbing tools so your next adventure is less “face-planting into snow” and more “chef’s kiss for mountaineering.” By the end, you’ll understand what makes quality glacier travel pitons, how to use them properly, and why bad advice could leave you dangling (literally).
Here’s what’s coming up:
Table of Contents
- Introduction to Glacier Travel Pitons
- Choosing the Right Pitons
- Best Practices for Using Pitons
- Real-World Examples & Case Studies
- Frequently Asked Questions
Key Takeaways
- Pitons are essential gear for securing anchors during glacier travel but must be used correctly.
- Not all pitons are created equal—quality matters!
- Mistakes in installation can cost you far more than just a ruined day on the slopes.
- We include tips, examples, and brutal honesty about common pitfalls.
What Are Glacier Travel Pitons? A Lifeline on Ice
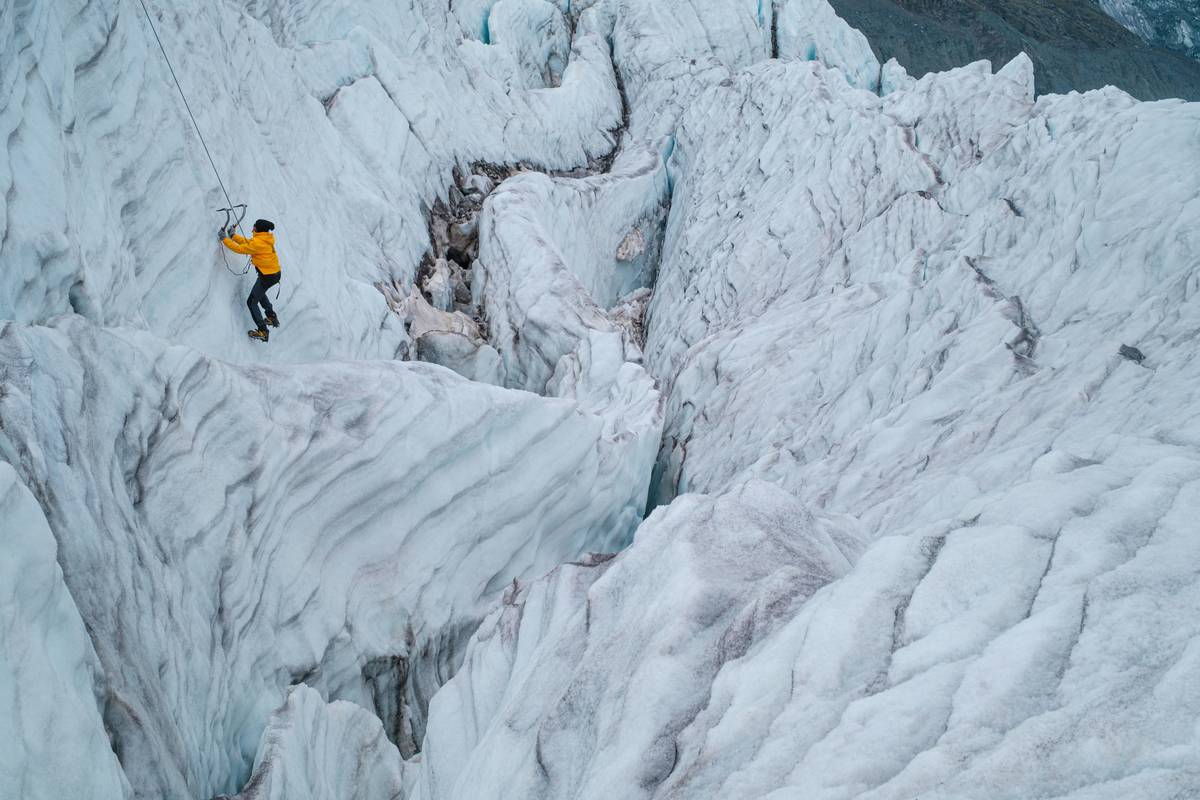
Glacier travel pitons are metal spikes designed to be driven into ice or rock crevices to create anchor points for climbers. These bad boys keep you safe when traversing treacherous terrain where slipping means bidding farewell to your spleen—or worse.
While crampons and ropes get most of the glory, it’s often the humble piton that saves lives. Yet, shockingly, many novice climbers underestimate their importance. According to stats from the American Alpine Club, improper anchoring techniques account for nearly 40% of accidents during glacier expeditions. That’s right—four out of ten mishaps involve avoidable errors with gear like pitons.
Choosing the Right Pitons: It’s Not Just About Looking Cool
Optimist You: “There are plenty of options available!”
Grumpy You: “Yeah, including ones that bend like spaghetti under pressure.”
When selecting glacier travel pitons, think durability, material compatibility, and shape relevance. Here’s how:
1. Material Matters
- Steel Pitons: Heavy-duty but prone to rust if not maintained. Perfect for hard rock faces but less ideal for softer ice.
- Aluminum Alloy: Lightweight champions. Excellent corrosion resistance makes them reliable for multi-day trips.
2. Shape and Size
Not all cracks are created equal. Consider:
- Knife Blades: Best suited for thin fissures.
- Larger Angle Pitons: Ideal for wider placements requiring stability.
3. Brand Reputation
Pro Tip: Rant Section Ahead!
I once bought some “budget-friendly” no-brand pitons online because, hey, who doesn’t love saving cash? Spoiler alert: They failed during a practice climb near Banff. Now I stick exclusively to brands like Black Diamond and Petzl—because nothing says “value for money” quite like staying alive.
Best Practices for Using Glacier Travel Pitons
Using glacier travel pitons effectively requires knowing both proper technique and glaring red flags. Let me save you from yourself here.
Step 1: Inspect Placement Zones Carefully
Look for stable, undamaged surfaces free from hidden voids or brittle patches. Listening closely as you tap can reveal hollow spots that sound suspiciously like doom knocking.
Step 2: Drive Securely
Use a lightweight hammer—not Thor-sized—so you don’t accidentally shatter surrounding ice while installing. Slow, deliberate strikes ensure maximum hold without compromising structural integrity.
Step 3: Back Up Your Anchors
Never rely solely on a single piton unless absolutely necessary. Pair each anchor point with additional safety measures like slings or cams whenever possible.
Glacier Travel Pitons in Action: Tales From The Trenches
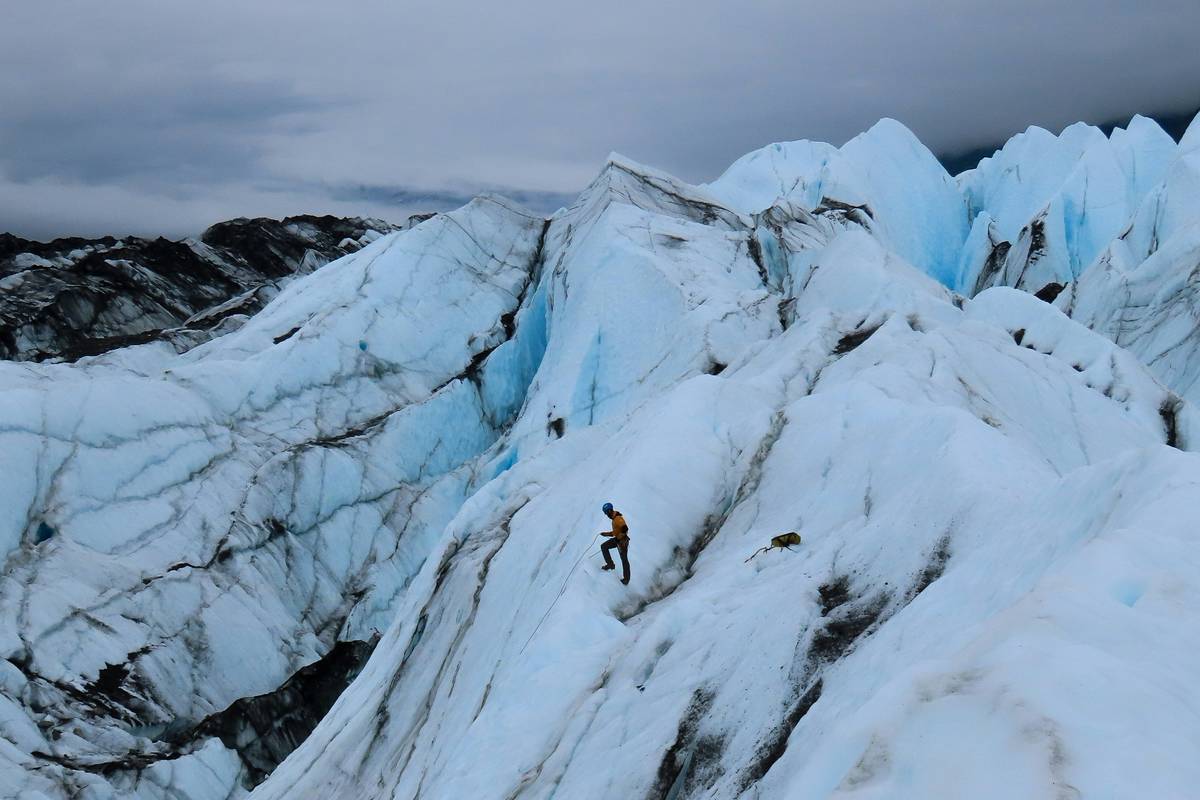
Tales abound of climbers saved by top-notch glacier travel pitons. One climber recounted using well-placed Petzl angles during a sudden storm high above Chamonix, France. Despite hurricane-force winds threatening every step, his anchors held firm thanks to meticulous prep work.
Conversely, another infamous story highlights poor choices leading to disaster. Without naming names, a certain group ignored damaged pitons rather than replace them mid-route. Their shortcut resulted in catastrophic failure halfway through a traverse—an object lesson everyone should heed.
FAQs About Glacier Travel Pitons
1. Can I reuse old pitons?
Maybe, but proceed with caution. Check for cracks, deformities, or significant wear before trusting them again.
2. How many pitons do I need for glacier travel?
Depends on the route! Always carry extras since conditions change rapidly, especially in unpredictable environments.
3. What happens if my piton fails?
If backups fail too…well, let’s just hope your life insurance is paid up. Seriously though, redundancy IS key.
Conclusion
To recap: Understanding glacier travel pitons might seem daunting, but mastery ensures safer adventures ahead. From choosing materials wisely to mastering correct placement, every detail counts toward success—or survival if things go sideways.
Remember, skimping on quality or knowledge never ends well (“Tamagotchi lessons learned”). Stay sharp out there, fellow adventurers!
Haiku Time!
Icy cliffs whisper,
Pitons bite deep—hold fast now,
Freedom waits above.

