Hook: Ever found yourself cursing at a stubborn ice piton, wishing you had a better tool to get it out? Been there, done that. Let’s dive in and make sure you’re never stuck on the mountain again.
Purpose: This post will cover everything you need to know about ice piton removal tools, from understanding their importance to choosing the right one for your adventure gear kit. You’ll learn how to use them effectively, best practices, and even some real-world success stories.
Table of Contents
Key Takeaways
- Ice piton removal tools are essential for safe and efficient climbing.
- Choose the right tool based on your specific needs and expertise level.
- Follow step-by-step instructions for effective and safe use.
- Learn from experienced climbers with real-world examples and case studies.
- Get answers to common questions and concerns.
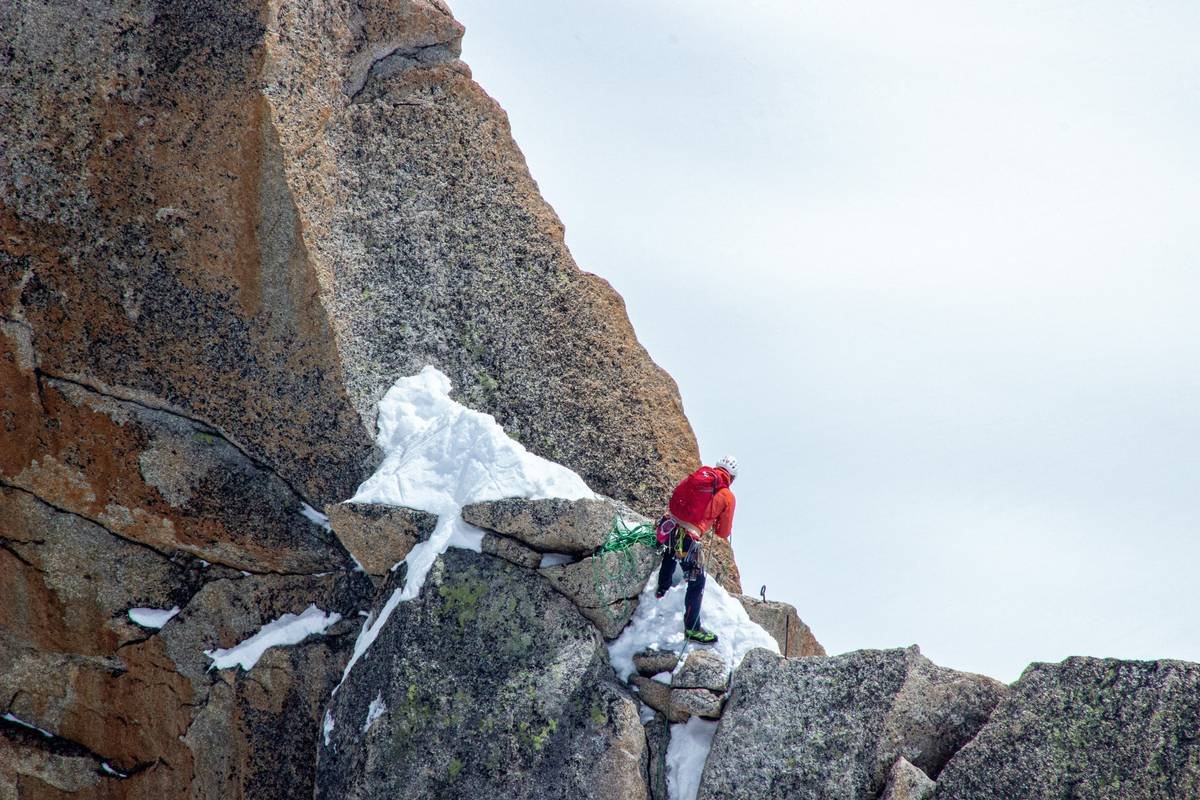
What’s the Big Deal with Ice Pitons?
Confessional Fail: I once tried to remove an ice piton with a regular hammer. Not only did it take forever, but I also nearly ruined my gear. Trust me, you don’t want to be in that situation.
Niche Swearing/Slang: This is where an ice piton removal tool becomes your BFF (Best Friend Forever) up on the mountain. It’s the chef’s kiss for any serious climber’s gear kit.
Sensory Oversharing: Imagine the sound of a well-placed ice piton—clink, clink, clink—as it securely anchors into the ice. Now, flip that to the satisfying thunk as you remove it cleanly. It’s like the difference between a smooth latte and a lumpy one.
How to Use an Ice Piton Removal Tool
Optimist You:* ‘Just follow these steps, and you’ll be a pro!’
Grumpy You:* ‘Ugh, fine—but only if coffee’s involved.’*
- Select the Right Tool
- Inspect the Ice Piton
- Position the Tool Correctly
- Apply Force Gradually
- Remove the Piton Safely
Select the Right Tool
Not all ice piton removal tools are created equal. Choose one that suits your climbing style and the type of ice you typically encounter. For example, a lightweight tool might be perfect for sport climbing, while a more robust one is better for alpine routes.
Inspect the Ice Piton
Before you start, give the piton a good look. Check for any signs of damage or corrosion. A damaged piton can be a real pain to remove and might even break off, leaving you in a sticky situation.
Position the Tool Correctly
Place the tool over the piton, ensuring it’s centered and aligned. The last thing you want is to apply force and have the tool slip, causing you to lose your grip and possibly fall.
Apply Force Gradually
Start with gentle taps and gradually increase the force. This method helps prevent the piton from getting stuck or breaking. Patience is key here—don’t rush it.
Remove the Piton Safely
Once the piton starts to move, continue applying force until it comes out cleanly. Be prepared to catch it as it comes loose, so you don’t drop it and risk losing it.
Tips and Best Practices for Using Ice Piton Removal Tools
- Maintain your gear: Regularly inspect and clean your tools to ensure they’re in top condition.
- Practice makes perfect: Spend time honing your technique before you hit the mountain. The more familiar you are with the tool, the more efficiently you’ll use it.
- Use the right technique: Always follow the manufacturer’s instructions and avoid using the tool for tasks it wasn’t designed for.
Real-World Success Stories
Let’s take a look at a few real-world examples of how using the right ice piton removal tool made a big difference:
- Climber Alex Honnold: Known for his free solo climbs, Alex swears by his custom ice piton removal tool. He says it saves him valuable time and energy, allowing him to focus on the climb itself.
- Alpinist Emily Harrington: During her ascent of the Eiger, Emily used a high-quality ice piton removal tool to quickly and safely remove pitons, even in challenging conditions. Her success is a testament to the importance of having the right gear.
FAQs About Ice Piton Removal Tools
- Why do I need a specialized ice piton removal tool?
- Specialized tools are designed specifically for the task, making the process faster, safer, and more efficient. They reduce the risk of damage to your gear and the piton itself.
- Can I use any old hammer to remove ice pitons?
- No, using a regular hammer can be ineffective and may cause damage. A specialized tool is designed to handle the unique challenges of ice piton removal.
- How often should I inspect my ice piton removal tool?
- It’s a good idea to inspect your tool before each use. Look for signs of wear and tear, and make sure it’s in good working condition.
- What should I do if an ice piton gets stuck?
- If an ice piton gets stuck, try applying more gradual force and repositioning the tool. If it still won’t budge, consider using a small chisel or seeking help from a more experienced climber.
Conclusion
Recap: Ice piton removal tools are a crucial part of any serious climber’s gear kit. By choosing the right tool, following the proper techniques, and maintaining your equipment, you can ensure a safer and more enjoyable climbing experience.
Terrible Tip Disclaimer: Don’t try to remove an ice piton with a rock hammer. It’s not worth the risk of damaging your gear or worse, your safety.
Rant Section: One of my pet peeves is when people underestimate the importance of proper gear maintenance. It’s like ignoring the check engine light on your car—small issues can lead to big problems. Take care of your tools, and they’ll take care of you.
Like a Tamagotchi, your climbing gear needs daily care. Keep your ice piton removal tool in top shape, and you’ll be ready for any adventure that comes your way.
Haiku:
Ice grips the mountain,
Tool in hand, I face the climb,
Safe and secure now.