
Have you ever tried placing a crack piton only to feel like you’re stabbing random rocks with no real purpose? Yeah, we’ve all been there. Placing pitons—especially in those gnarly cracks—isn’t just about brute force; it’s an art form that requires precision and know-how. But how do you master it without risking equipment failure (or worse)? This guide dives deep into “crack piton placement videos,” giving you actionable tips, techniques, and tools so you can climb smarter—not harder.
Table of Contents
- Key Takeaways
- Why Crack Piton Placement Videos Matter
- Step-by-Step Guide for Perfect Piton Placement
- Top Tips & Best Practices
- Real-Life Examples from Seasoned Climbers
- FAQs About Crack Piton Placement Videos
- Conclusion
Key Takeaways
- Crack piton placement is critical for safety and efficiency in traditional climbing.
- Videos are invaluable learning tools because they show proper technique visually.
- Avoid common mistakes by mastering angles, hammering techniques, and material understanding.
- Invest time in practicing placements before going on challenging climbs.
- Always prioritize quality gear over quantity.
Why Crack Piton Placement Videos Matter
If someone told me five years ago that watching people whack metal spikes into rock would one day save my life, I’d have rolled my eyes. Yet here we are.

Optimist You:
“It’s not rocket science! Just stick ’em in there!”
Grumpy Me:
“Oh sure, let’s just destroy $50 worth of gear while risking a fall. What could go wrong?”
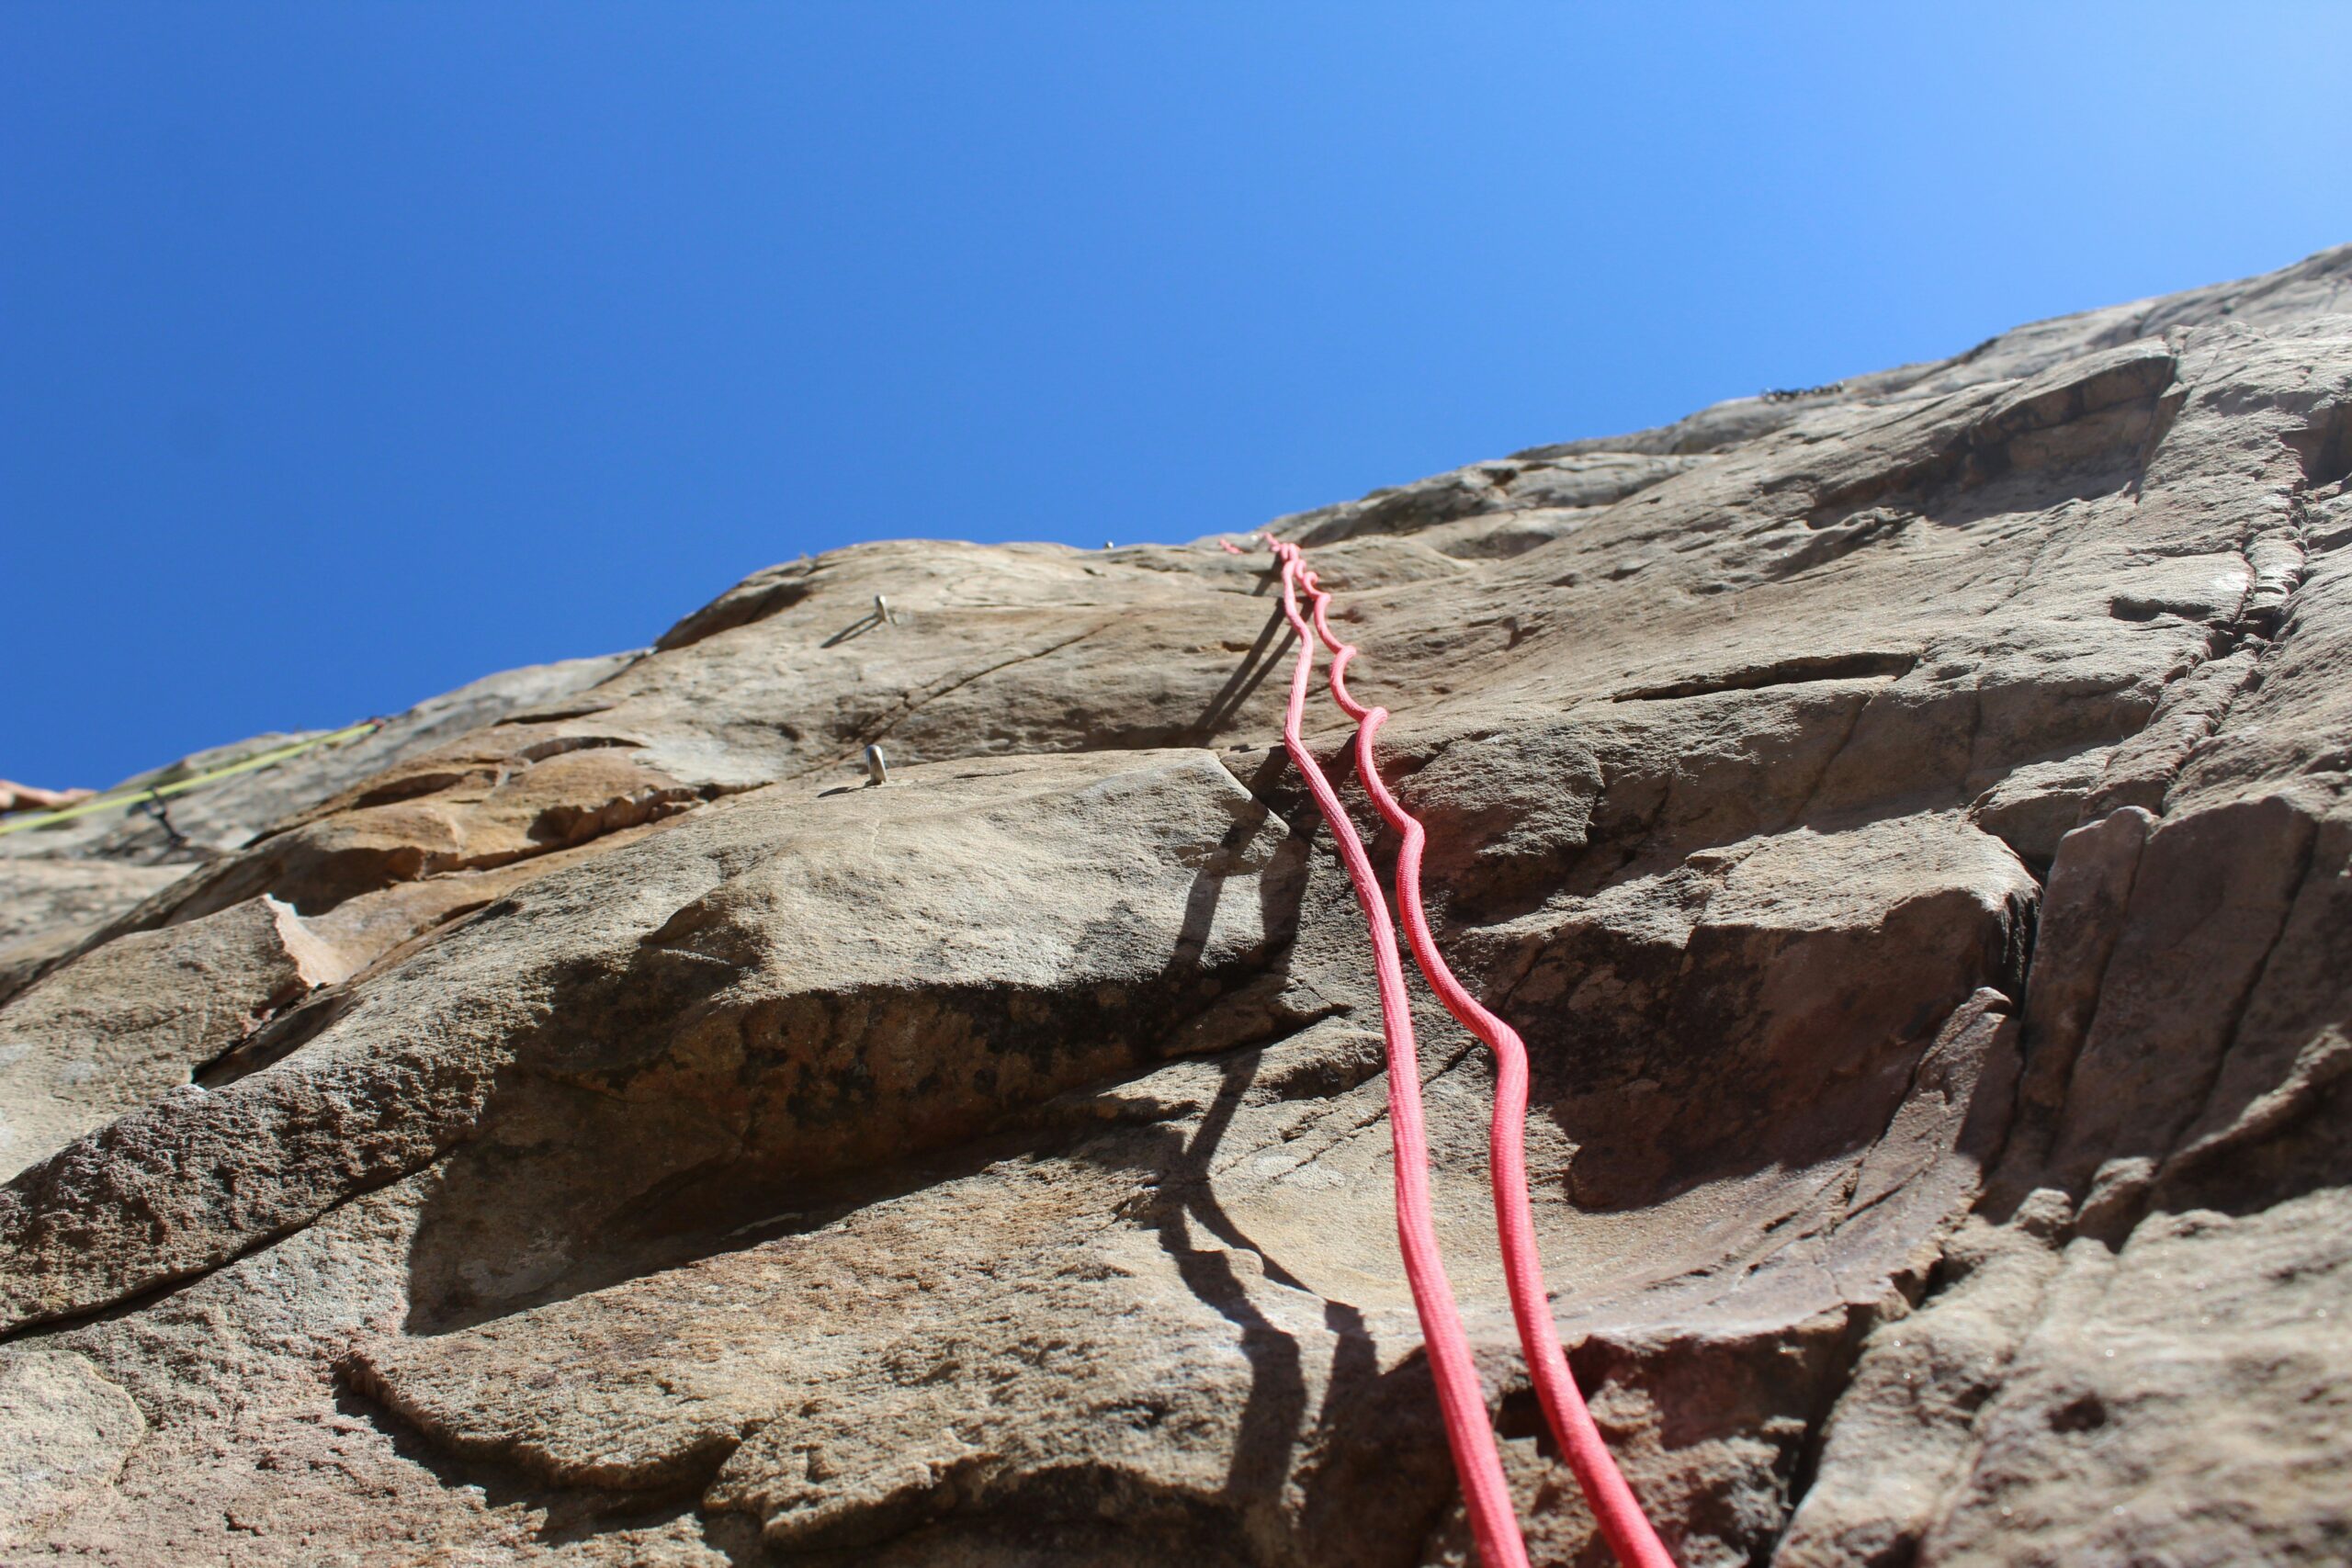
The truth? Incorrect piton placement leads to weak anchor points, making your climb dangerous. And trust me, once you’ve heard that terrifying “ping” sound as a misplaced piton pops out mid-climb—you won’t forget it anytime soon. That’s why crack piton placement videos are lifesavers—they give visual clarity beyond what text or diagrams alone can teach.
Step-by-Step Guide for Perfect Piton Placement
Step 1: Understand Your Tools
Different piton types suit specific cracks—knifeblade, lost arrow, angle, etc. Watch tutorials showing close-ups of each type being used correctly.
Step 2: Assess the Crack
Look at depth, width, and surface texture. A good video will walk you through identifying suitable spots to insert your piton.
Step 3: Hammer Technique Matters
The trick lies in hitting straight—not too hard but firmly enough to seat securely. Pro climbers often demonstrate this perfectly in their videos, ensuring minimal damage to both rock and equipment.
Step 4: Test Tension Points
Gently tug on the piton after insertion. If it wobbles, start again. Many instructional vids highlight these testing steps clearly.
Top Tips & Best Practices
- Film Yourself: Record your own placements and compare them with expert crack piton placement videos. Spotting subtle differences helps improve quickly.
- Use High-Quality Gear: Don’t cheap out on materials. Steel pitons last longer and provide better hold than aluminum versions.
- Practice Makes Perfect: Spend days mastering small sections rather than rushing complex routes.
“Terrible Tip Alert: Using YouTube comments as your sole resource might lead to disaster. Always cross-check advice against trusted experts.”
Pet Peeve Rant:
For crying out loud, stop barging onto advanced climbs armed solely with flashy new gear and zero practice. Watching three *crack piton placement videos* does NOT make you Alex Honnold!
Real-Life Examples from Seasoned Climbers
Take Laura Parker, who documented her entire learning journey on Instagram Reels. She started shaky but progressed rapidly thanks to studying top-notch instructional content daily. Now she mentors others online.
Then there’s Mark D., whose poorly placed pitons almost cost him dearly until he stumbled upon crack piton placement videos. After dedicated practice, his anchors became solid and reliable, proving education pays off big-time.
FAQs About Crack Piton Placement Videos
Where Can I Find Reliable Crack Piton Placement Videos?
Look no further than platforms like YouTube, Vimeo, and even specialized climbing forums where professionals share insights regularly.
Do All Cracks Require Pitons?
Nope! Some rely more on cams or nuts depending on conditions. However, knowing when to use which protection method comes down to experience—and yes, plenty of video study.
Can Poor Placement Harm My Equipment?
Absolutely. Bent or cracked pitons lose structural integrity, putting future ascents at risk. Follow crack piton placement videos carefully to avoid costly replacements.
Conclusion
Crack piton placement doesn’t have to feel daunting anymore. With access to stellar crack piton placement videos, consistent practice, and adherence to best practices, any climber can elevate their skills dramatically. So grab some coffee, dive into those tutorials, and prep yourself for safer adventures ahead!
“Like a Tamagotchi, your SEO needs daily care—but hey, now YOU’RE equipped to conquer Google rankings AND rugged cliffs alike. Happy climbing!”

