“Ever tried jamming a piton into a flaring crack, only to watch it laugh in your face? You’re not alone.”
Climbers know that few things are as frustrating—and potentially dangerous—as dealing with flaring cracks. It’s like trying to fit a square peg into a round hole… while dangling hundreds of feet above the ground. If you’re chasing mastery over these tricky terrains, this guide is for you.
In this post, we’ll break down the best Flaring Crack Solutions, from selecting the right climbing pitons to expert tips for placement and safety. Expect actionable advice, brutal honesty about common mistakes (including my own epic fails), and quirky Easter eggs at the end!
Table of Contents
- Key Takeaways
- Understanding Flaring Cracks
- Choosing the Right Piton
- Best Practices for Placement
- Real-World Examples
- FAQs
- Conclusion
Key Takeaways
- Understand why flaring cracks pose unique challenges compared to other rock features.
- Learn how to select durable, versatile climbing pitons suited for flaring cracks.
- Discover foolproof techniques for placing pitons securely, even in challenging conditions.
- Avoid rookie mistakes that could compromise safety or gear efficiency.
Why Are Flaring Cracks Such a Pain?
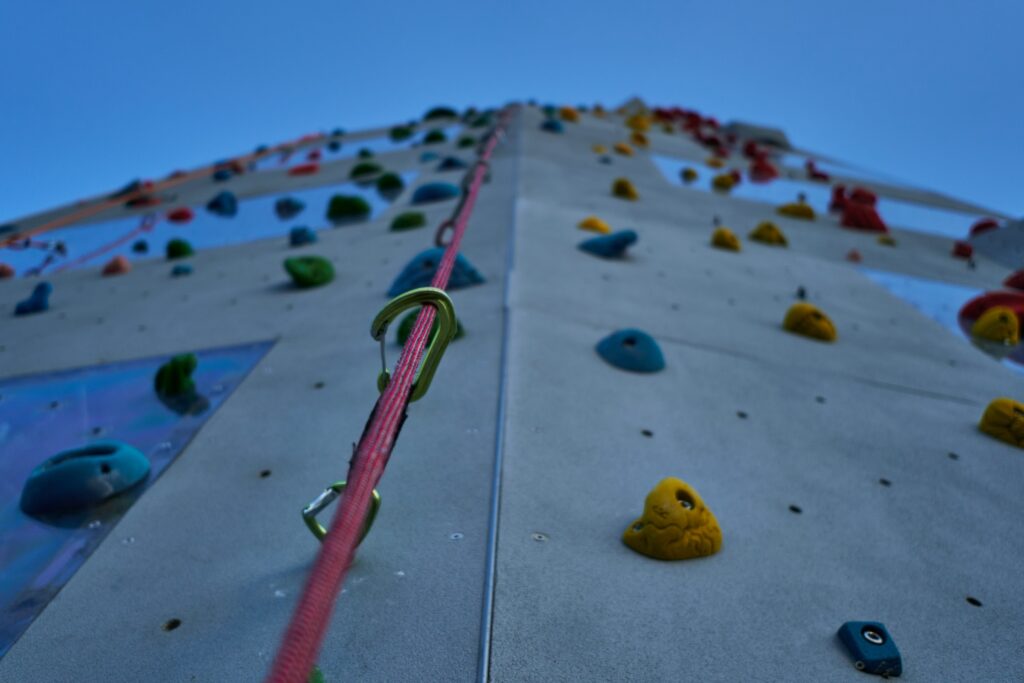
If you’ve ever stared down a widening crack on a climb, wondering if physics itself hates you, welcome to the world of flaring cracks. These angling formations taper outward, making traditional protection—nuts, cams, or slings—practically useless.

A classic example of a flaring crack – the bane of many climbers’ existence.
Here’s the brutal truth: Not all cracks are created equal. While parallel-sided cracks are cooperative little buddies, flaring ones feel like they were designed by nature just to mess with us. They demand specialized gear and technique. And yes, I once hammered a piton so poorly that it popped out mid-climb. Lesson learned? Always have a backup plan.
Optimist You: *“I can totally figure this out!”*
Grumpy You: *“Yeah, sure. Just don’t blame me when gravity reminds you who’s boss.”*
Step-by-Step Guide: Choosing the Best Pitons for Flaring Cracks
Step 1: Know Your Materials
Pitons come in different materials—steel, aluminum, or titanium—with varying strengths and weights. For flaring cracks, stick to rugged steel options because lighter metals lack the necessary durability.
Step 2: Match Shape to Terrain
The shape of the piton matters. Blade pitons work well in tight cracks, but angles and bongs shine in wider, more irregular spaces.
Step 3: Check Length
Shorter pitons often suffice for shallow placements, but deeper cracks require longer ones to grip effectively. Measure twice, hammer once!

Types of climbing pitons and ideal situations for each type.
Tips & Best Practices for Rock-Solid Placements
- Inspect Before Hammering: Look closely at the crack. Are there any loose bits of rock? Clear debris before attempting to place a piton.
- Tap Gently First: A soft tap helps seat the pin without damaging it—or losing control of your hammer.
- Angle Matters: Insert the piton at an angle opposite the direction of pull for maximum stability.
- Test Under Load: Give the piton a tug after setting it. If it feels insecure, replace it immediately.
Pro Tip: Keep noise levels low when using pitons; repeated banging echoes through quiet climbing areas and annoys fellow adventurers. Trust me—I’ve been shot dirty looks for ruining someone’s meditation session atop a cliff.
Case Study: Successful Climbs Using Proven Techniques
Let’s talk about Sarah W., an experienced climber who tackled Yosemite’s infamous flaring routes. She credits her success to carrying a mix of long blade pitons and custom bongs she forged herself (yes, DIY gear is a thing).
After a harrowing experience where one piton bent under stress, Sarah developed a checklist system for every climb:
- Double-check piton integrity before heading out.
- Carry extra gear tailored to specific crags.
- Practice placements on easier climbs to build confidence.
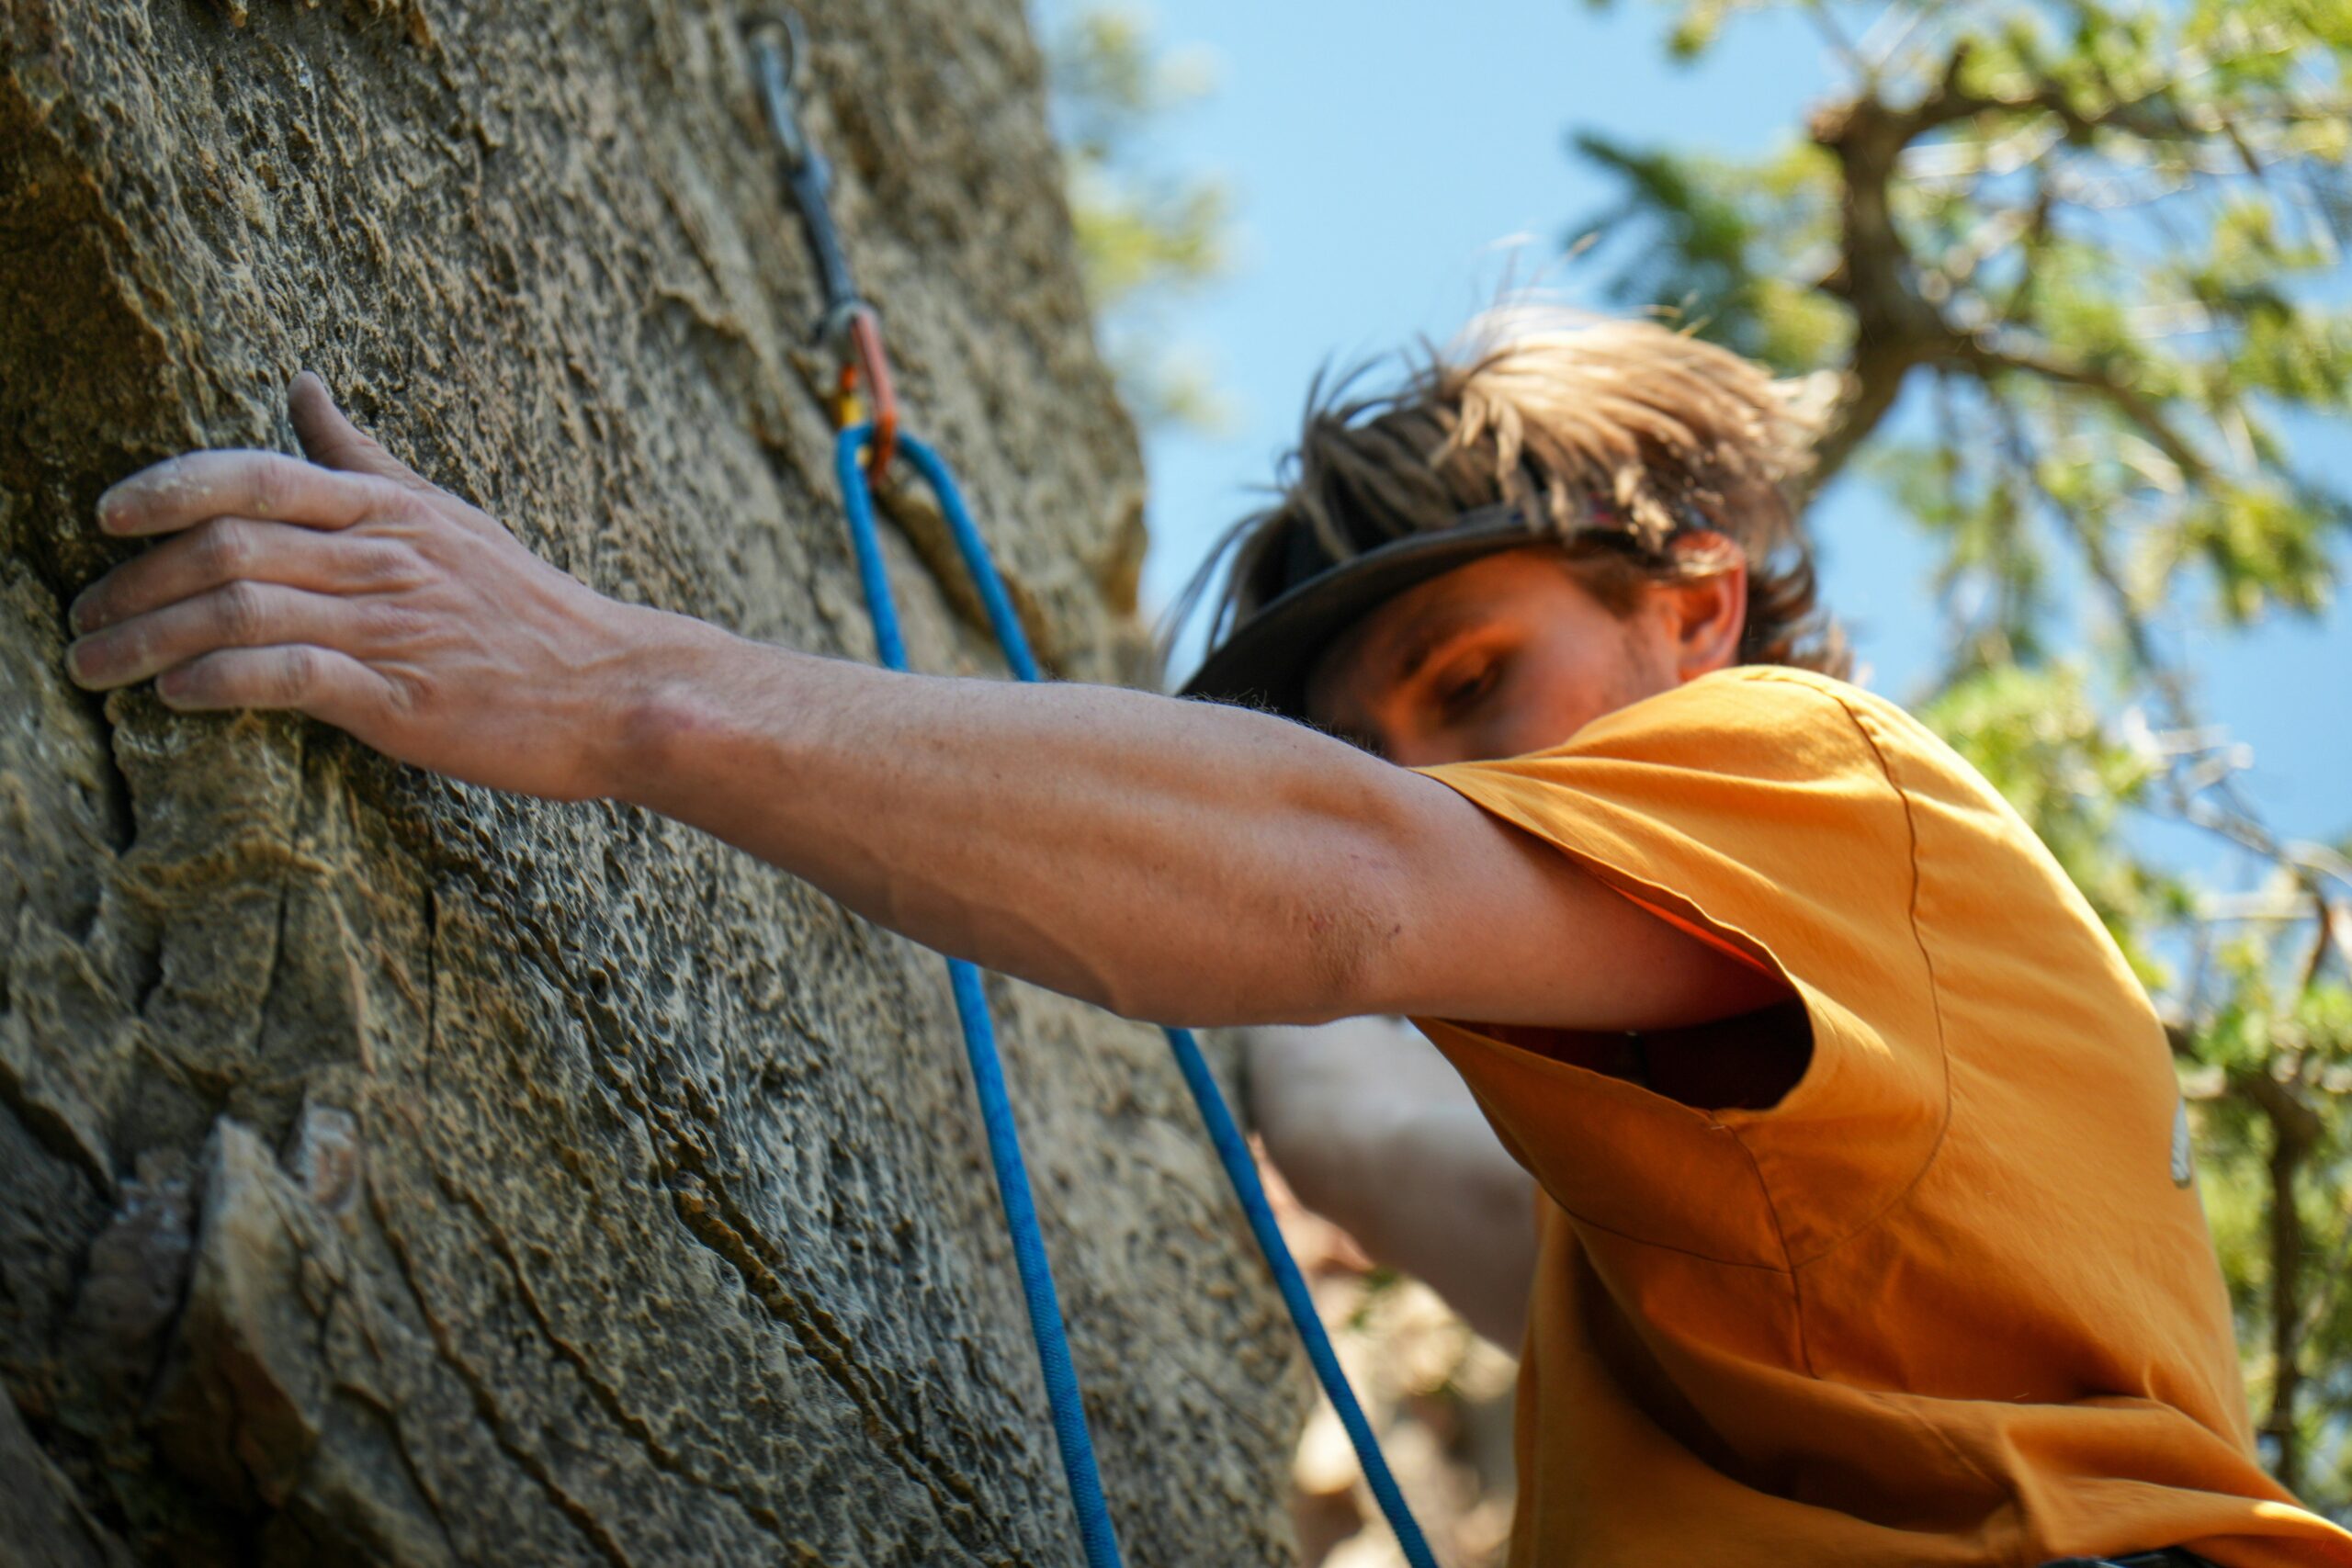
Sarah W. demonstrates perfect piton placement during her Yosemite expedition.
Frequently Asked Questions About Flaring Crack Solutions
Q: Can I use regular cams instead of pitons?
A: Cams might hold temporarily, but pits are better suited for sustained load-bearing in flares. Don’t skimp on safety!
Q: What’s the worst mistake I can make with pitons?
A: Trying to force a piton into unsuitable terrain risks damaging both the rock and your equipment. Plus, it wastes precious time.
Final Thoughts on Mastering Flaring Crack Solutions
Climbing isn’t just physical—it’s mental, technical, and sometimes downright infuriating. But mastering tools like pitons transforms fear into empowerment. Remember:
- Choose robust, appropriately shaped pitons.
- Focus on precise placement.
- Stay prepared for anything the mountain throws your way.
Now go show those flaring cracks who’s boss. Oh, and don’t forget the coffee—it fuels everything worthwhile.
Haiku Bonus:
Steel bites ancient stone,
Flares yield to skilled hands—climb on!
Rope whispers freedom.