“Ever tried hammering a steel piton into rock only to realize you’re doing it wrong…and now your gear is stuck? Yeah, we’ve all been there.”
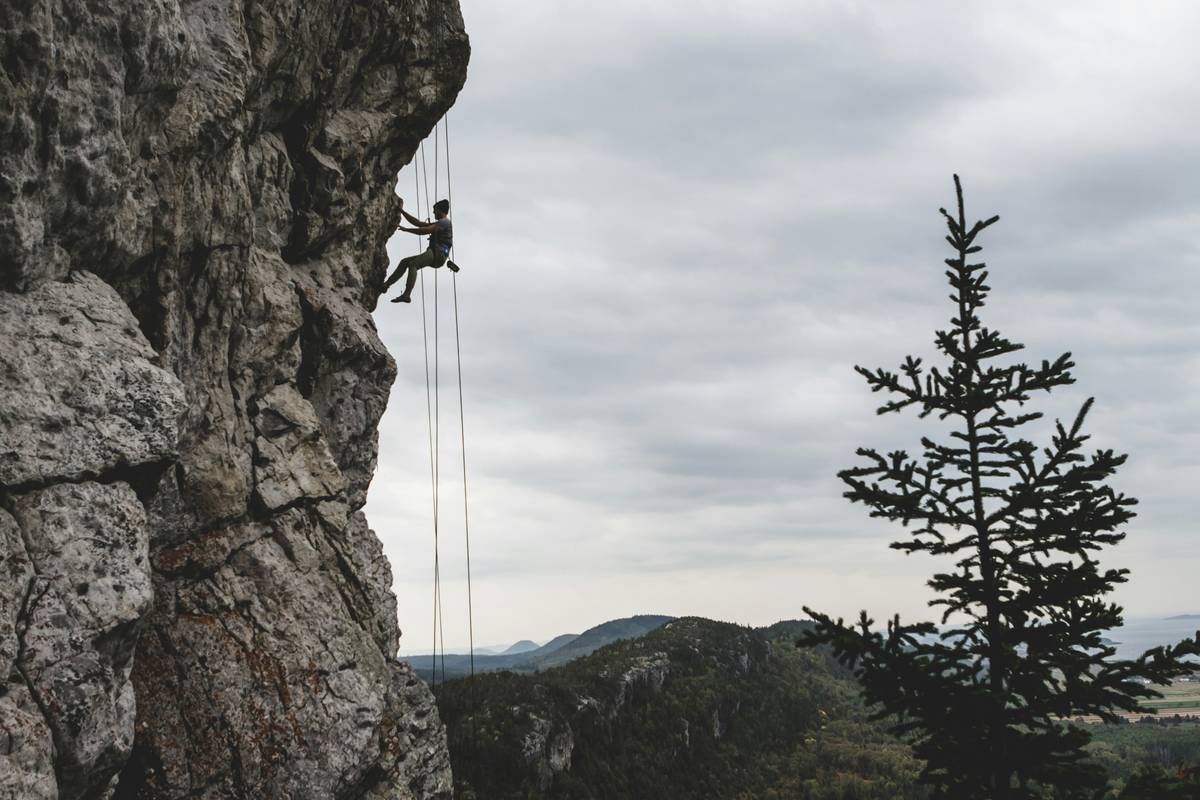
Whether you’re scaling rugged cliffs or exploring untouched crags, mastering the art of using climbing pitons can make or break your adventure. Today’s post dives deep into how to hammer steel pitons effectively, ensuring both safety and efficiency on the wall.
We’ll cover everything from choosing the right piton to hammering techniques that won’t leave you drenched in sweat—or worse, stranded mid-climb. Here’s what you’ll take away:
- A step-by-step guide to hammering steel pitons like a pro
- Tips and best practices for safe placement
- Real-world examples and mistakes to avoid
- Frequently asked questions about piton usage
Table of Contents
- Key Takeaways
- The Problem with Poorly Hammered Pitons
- Step-by-Step Guide to Hammering Steel Pitons
- Tips & Best Practices for Using Climbing Pitons
- Examples & Case Studies: What Works (and What Doesn’t)
- FAQs About How to Hammer Steel Pitons
- Conclusion
Key Takeaways
- Pick the correct type of steel piton for the specific rock surface.
- Hammer at a slight upward angle to ensure stability.
- Never use brute force—technique matters more than strength.
- Inspect pitons regularly for wear and tear before reuse.
- Avoid common newbie mistakes like over-tightening or misaligning.
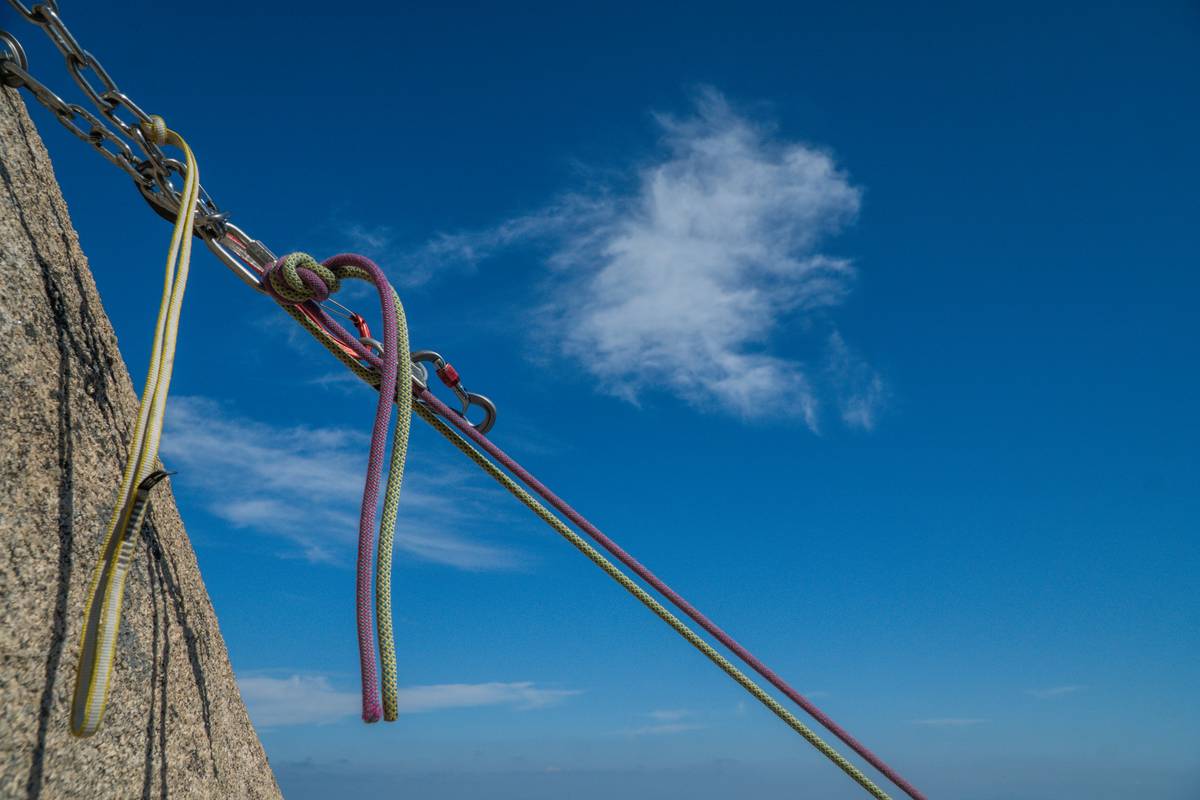
The Problem with Poorly Hammered Pitons
Why does how to hammer steel pitons matter so much? Imagine this: I once spent an hour trying to extract a jammed piton during a climb because I hammered it too hard at the wrong angle. Talk about embarrassing—and exhausting.
Poorly placed pitons:
- Create weak anchor points, jeopardizing safety.
- Degrade faster, increasing replacement costs.
- Harm natural rock surfaces, damaging ecosystems (rant alert).
Rant Break: Look, let’s not pretend these little spikes are disposable. Every time someone carelessly hammers them into fragile rocks, they contribute to environmental degradation. If you’re going to climb responsibly, respect the rock!
Here’s why this skill matters: Properly hammered pitons save lives, protect nature, and keep climbs smooth as butter.
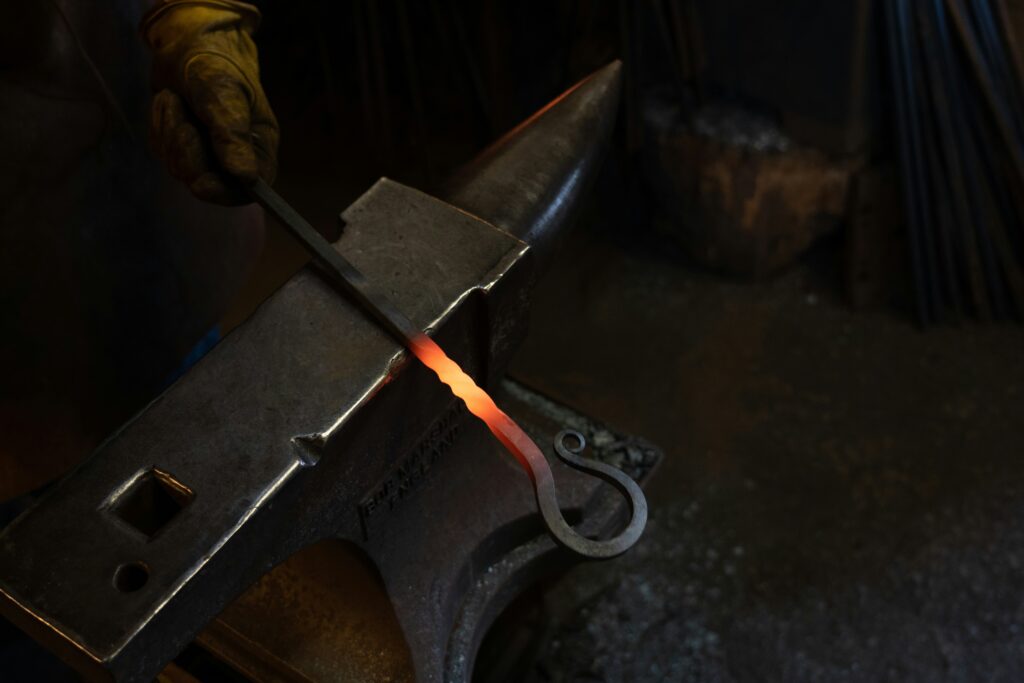
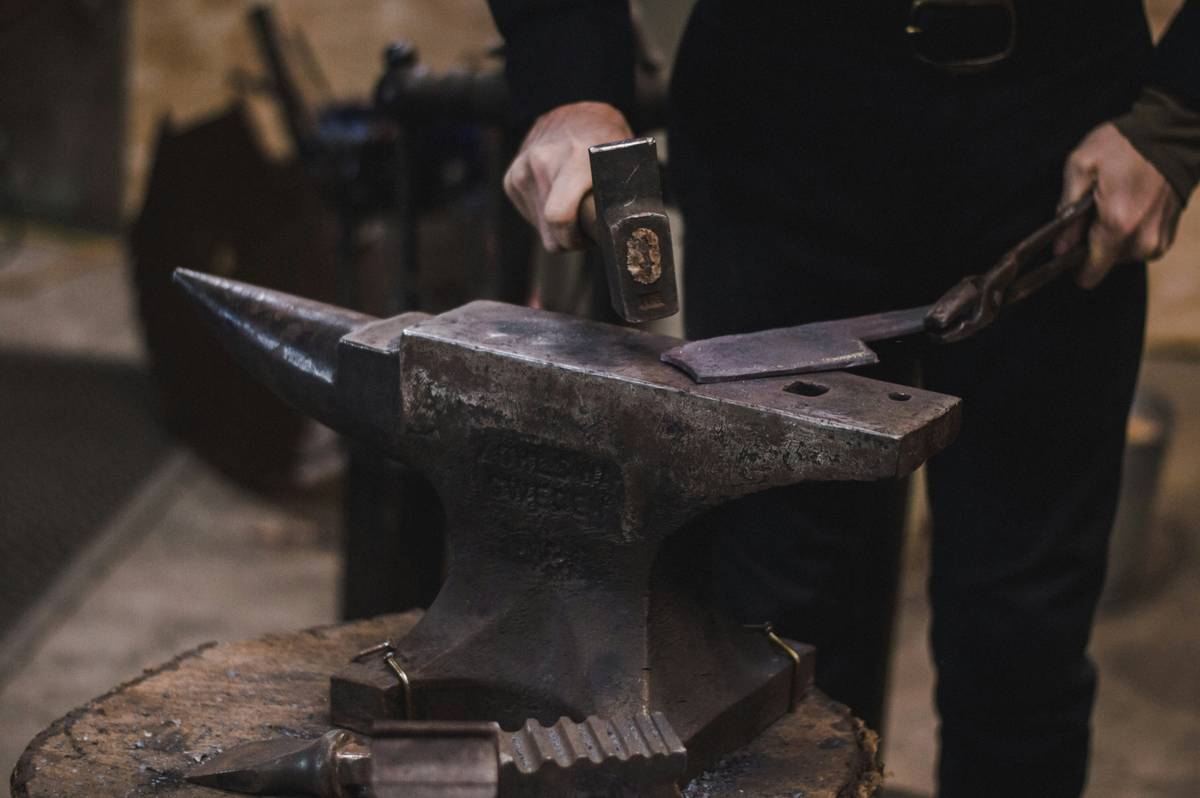
Step-by-Step Guide to Hammering Steel Pitons
Optimist You: “I’ve got this!”
Grumpy You: “Yeah, unless you mess it up again.”
Let’s get down to business:
1. Choose the Right Piton
Selecting the appropriate steel piton depends on two factors: rock type and crack width. For example:
- Granite: Use blade pitons for narrow cracks.
- Sandstone: Opt for softer angles to prevent cracking the rock.
(Tip: Carry a variety of sizes if unsure.)
2. Position the Piton Correctly
Insert the piton at a slight upward angle (about 10-15 degrees). This ensures better grip when weight is applied later. Avoid horizontal placements—they tend to slip under tension.
3. Hammer with Care
Start lightly, tapping gently until the piton seats snugly. Too much force early on might cause damage to the piton or surrounding rock. Once seated securely, proceed with moderate strikes—but don’t go full Hulk Smash mode!
4. Test the Anchor Point
Gently tug on the piton after installation. It should hold firm without budging. If it moves, remove and reposition—it might be angled incorrectly.
5. Inspect Before Use
Double-check for visible deformities or signs of wear. A compromised piton is a liability waiting to happen.
Tips & Best Practices for Using Climbing Pitons
- Practice Makes Perfect: Try hammering pitons in low-risk environments first (like bouldering gyms).
- Invest in Quality Tools: Cheap hammers may break or fail mid-strike. Go for durable ones designed for climbing.
- Listen to Feedback: Pay attention to sounds while hammering—a sharp *ping* often indicates solid placement; dull thuds signal problems.
- Carry Spares: One bad strike could render a piton useless. Always bring backups.
Terrible Tip Disclaimer: NEVER use duct tape to fix broken pitons. Just…no.
Examples & Case Studies: What Works (and What Doesn’t)
Check out John D., an experienced climber who swears by the 10-degree rule mentioned earlier. His success rate? Near-perfect placements every time. Contrast that with Sarah L., who admitted skipping proper technique training—she ended up needing rescuing twice due to faulty anchors.
Moral of the story? Technique trumps raw power.
FAQs About How to Hammer Steel Pitons
Can I Use Any Hammer for Pitons?
Nope. Regular claw hammers are too bulky and awkward. Stick to lightweight climbing hammers designed specifically for this purpose.
Do Pitons Work on All Rock Types?
Not quite. While versatile, some rock types (e.g., loose sandstone) are better suited for cams or nuts instead of steel pitons.
Should I Remove Pitons After a Climb?
Ideally, yes. Leaving behind unnecessary hardware contributes to clutter and potential hazards for future climbers.
Conclusion
Mastering how to hammer steel pitons isn’t just about looking cool—it’s essential for safe, ethical climbing adventures. By following our tips and avoiding rookie errors, you’ll become a piton pro in no time. Remember: safety first, nature second, ego last.
Before we sign off, here’s a haiku to inspire your climbs:
Steel meets rugged stone,
Precision earns trust above.
Climb safe, tread lighter.