
Ever felt your heart drop when you realized your climbing gear wasn’t up to snuff? Yeah, we’ve been there too. Today, we’re diving into why an ice piton for crevasse rescue could be the difference between life and death on the mountain.
In this ultimate guide, we’ll explore everything you need to know about choosing, using, and maintaining an ice piton for crevasse rescue. You’ll learn how to pick the right one, how to use it effectively, and some brutally honest tips from climbers who’ve been in the trenches (literally). Let’s get started!
Table of Contents
- Key Takeaways
- Why Ice Pitons Matter
- How to Choose the Right Ice Piton for Crevasse Rescue
- Best Practices for Using an Ice Piton
- Real-Life Examples of Ice Pitons Saving Lives
- FAQs About Ice Pitons
- Conclusion
Key Takeaways
- An ice piton for crevasse rescue is essential for safe mountaineering in icy terrains.
- Finding the right size, material, and weight can make or break your rescue operation.
- Practice with your gear before heading out—familiarity saves lives.
- Avoid cheap knock-offs; they are a recipe for disaster.
Why Ice Pitons Matter
“Optimist You:” “I’m sure I won’t fall into a crevasse.”
“Grumpy You:” “Oh yeah? Tell that to the ten frozen toes you left at base camp last year.”
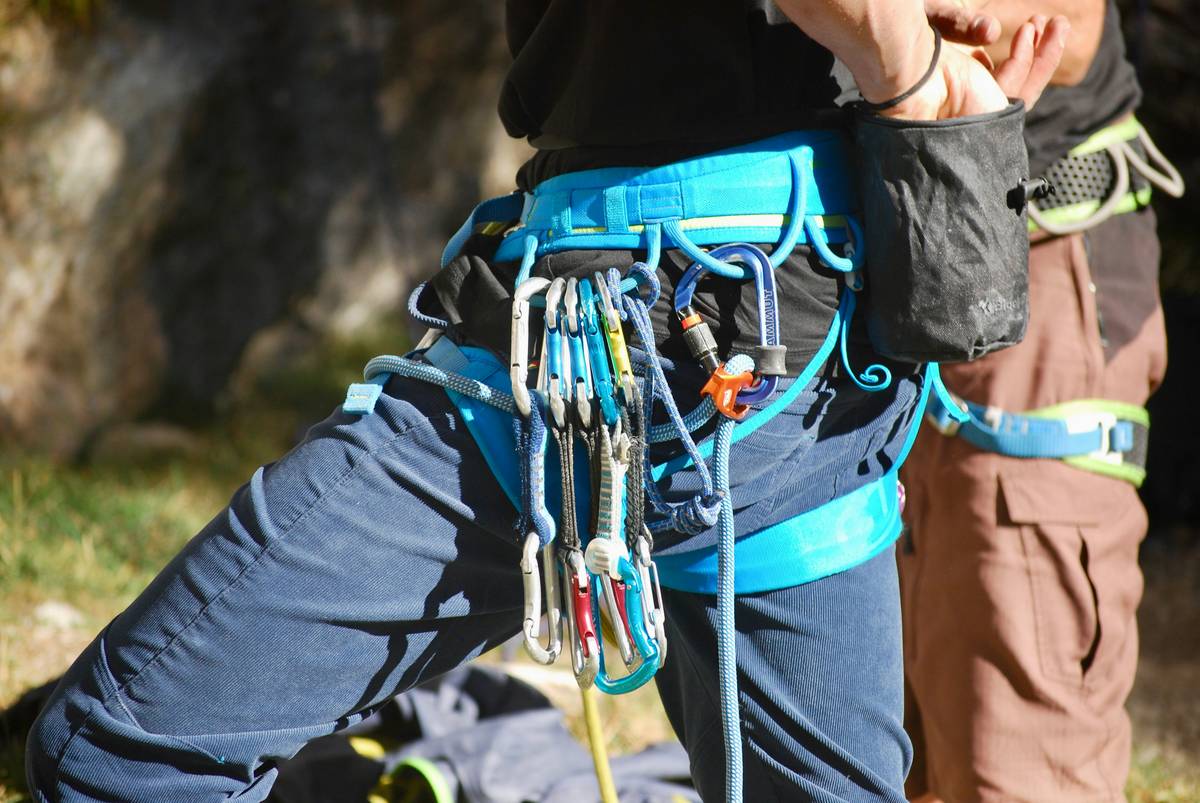
Climbing glaciers is no joke. One bad step, and suddenly you’re dangling over an abyss. That’s where an ice piton for crevasse rescue comes in. These small but mighty tools anchor ropes into ice walls, helping teams pull each other out of dangerous situations. But here’s the kicker—not all ice pitons are created equal.
How to Choose the Right Ice Piton for Crevasse Rescue
I once packed a flimsy aluminum piton because it was lightweight (and cheaper). Big mistake. When things got dicey, the thing bent like spaghetti. Trust me, don’t go cheap on safety gear. Here’s what you should look for:
Step 1: Material Matters
Steel pitons are heavy but durable. Titanium offers a balance of strength and weight savings. Avoid plastic-coated options unless you want a “chef’s kiss” fail moment.
Step 2: Size Selection
Different sizes suit different types of ice. A longer piton works better in softer conditions, while shorter ones excel in harder ice.
Step 3: Testing Before You Go
Pack test your setup. Hammer the piton into a block of ice, attach a rope, and yank hard. If it wobbles or slips, back to the drawing board.
Best Practices for Using an Ice Piton
Here’s the brutal truth: Even the best gear won’t save you if you don’t know how to use it properly. Follow these steps:
- Placement: Hammer straight in—not at an angle—to maximize grip.
- Clearance: Remove debris around the entry point so the piton locks firmly.
- Tie Off Correctly: Use a secure knot (figure-eight loop works wonders).
Terrific Tip: Keep Extra Gear Handy
If a piton fails during deployment, having backups ensures you’re not stuck improvising.
Terrible Tip Disclaimer:
Do not use duct tape to fix a cracked piton. Seriously. We’ve seen it happen—it didn’t end well.
Real-Life Examples of Ice Pitons Saving Lives
Take Steve, for example—a seasoned mountaineer who fell waist-deep into a crevasse during a solo expedition. His team’s pre-placed ice piton became his lifeline as he self-rescued. The takeaway? Preparation pays off.

FAQs About Ice Pitons
What is the lifespan of an ice piton?
Depends on usage and storage. Regular inspections for rust or deformation are critical.
Can I reuse my ice piton?
Maybe. Inspect carefully after every use. Dents or cracks mean retirement.
Are titanium pitons worth the extra cost?
Absolutely. Their durability and corrosion resistance justify the investment.
Conclusion
An ice piton for crevasse rescue isn’t just another piece of gear—it’s your insurance policy against disaster. By selecting wisely, practicing placements, and avoiding shortcuts, you can tackle even the wildest climbs with confidence.
So gear up, stay sharp, and remember—the mountains wait for no one. Happy climbing!
Steel meets ancient ice,
A lifeline in the abyss—
Rescue made possible.

