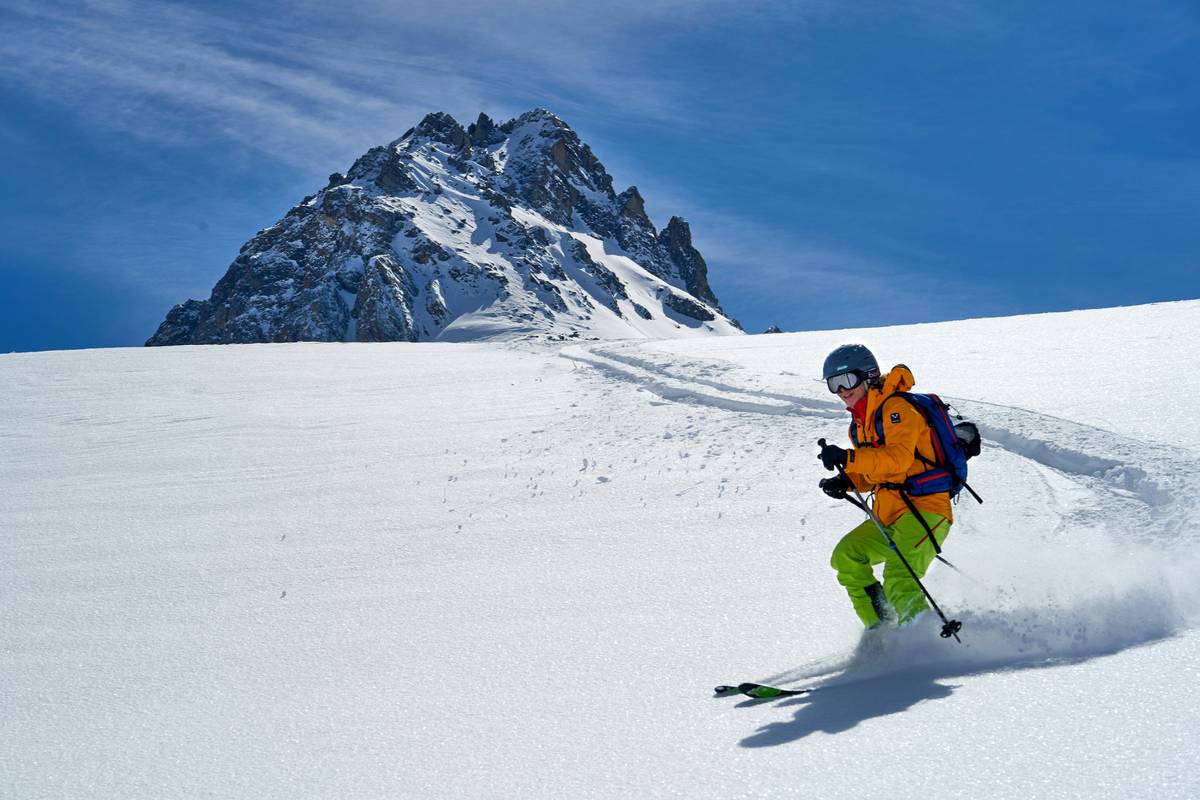
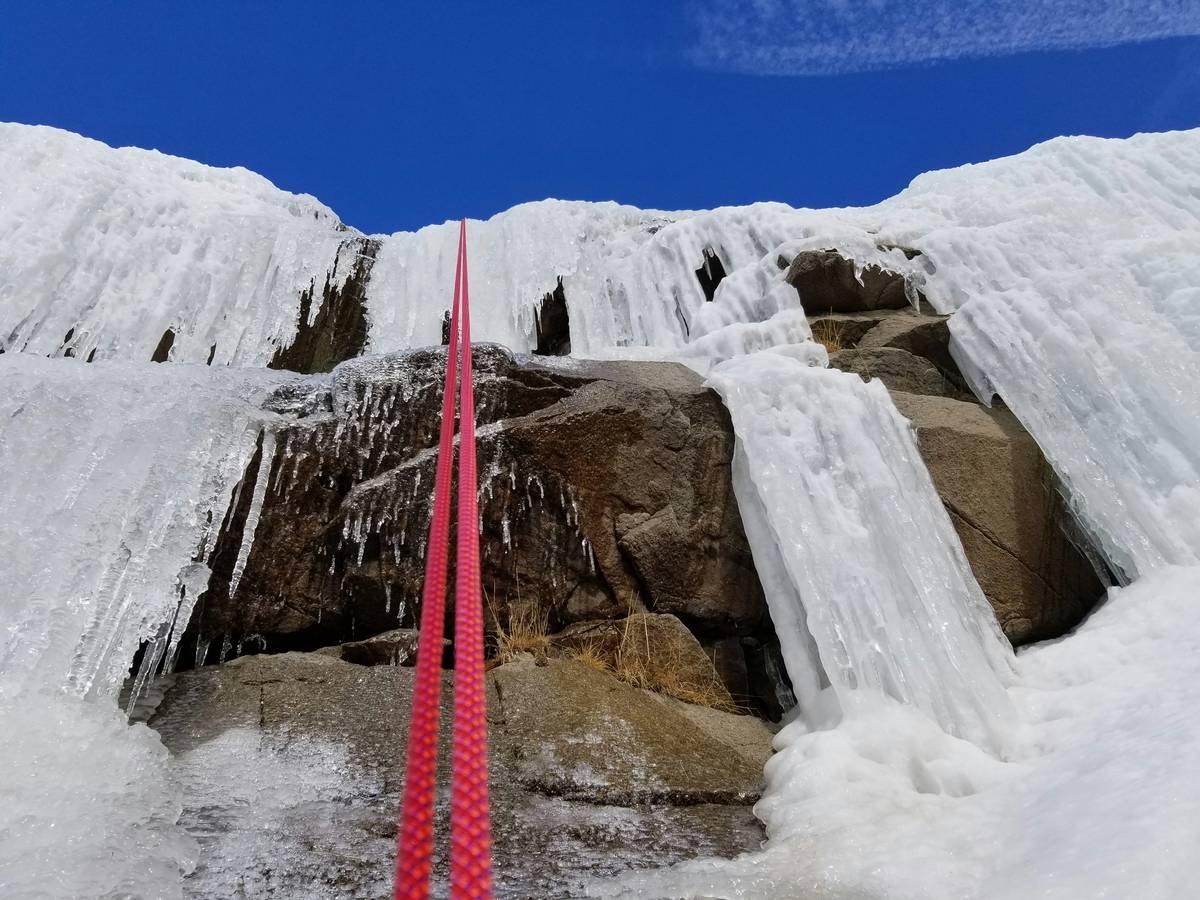
Ever felt your heart drop as you watched a poorly placed piton wobble under the weight of an ice fall? Yeah, me too. That sinking feeling isn’t just bad for your ego—it’s dangerous. Today, we’re diving deep into everything you need to know about ice fall piton protection: how to choose them, use them, and avoid rookie mistakes that could cost you dearly.
Table of Contents
- Introduction
- Key Takeaways
- Why Ice Fall Piton Protection Matters
- Step-by-Step Guide to Using Ice Fall Piton Protection
- Top Tips for Maximizing Safety with Pitons
- Real-Life Examples of Effective Piton Use
- Frequently Asked Questions About Ice Fall Piton Protection
- Conclusion
Key Takeaways
- Pitons are not one-size-fits-all; material and design matter.
- Placement is king—bad placements can mean disaster.
- Regular gear checks save lives.
Why Ice Fall Piton Protection Matters
“I once hammered a piton so hard it bent sideways mid-climb. Let’s just say my belay partner wasn’t thrilled.” Oof. Mistakes like these aren’t just embarrassing—they’re life-threatening.
The truth? Ice climbing requires more than guts and grit. It demands gear that works. According to recent studies, improper placement accounts for over 30% of climbing accidents involving fixed anchors. And trust me—you don’t want to be part of that statistic.
Step-by-Step Guide to Using Ice Fall Piton Protection
Step 1: Choosing the Right Piton for the Job
Optimist You: “Any old piton will do!”
Grumpy You: “Sure, if you enjoy free-soloing down a cliff face.”
Not all pitons are created equal. For ice falls, go for:
- Blade Shape: Thin blades slice through ice without cracking it further.
- Material: Stainless steel resists corrosion from freezing temps.

Step 2: Proper Placement Techniques
Here’s where things get dicey. A poorly placed piton might hold…until it doesn’t. Follow these tips:
- Hammer lightly at first to test stability.
- Avoid cracks prone to shattering (yes, even in ice).
Step 3: Testing Your Setup
Give it a solid tug before committing your full weight. If it budges, rethink your strategy.
Top Tips for Maximizing Safety with Pitons
- Inspect Before You Go: Check each piece of gear for rust or damage.
- Bring Extras: One failed piton shouldn’t spell doom.
- Terrain Awareness: Study the route ahead. Is this a place where pitons are truly necessary?
Rant alert: Stop treating pitons like magic talismans! They won’t fix poor planning or reckless decisions. This strategy is chef’s kiss for drowning algorithms—but only when paired with common sense.
Real-Life Examples of Effective Piton Use
Tyler D., an experienced mountaineer, swears by his titanium pitons for challenging ice routes. In one harrowing climb last winter, he attributed his survival to meticulous prep—and two well-placed pitons on a slippery 80-foot pitch.
Frequently Asked Questions About Ice Fall Piton Protection
Can I reuse pitons after removing them?
Maybe. Inspect thoroughly for bends or wear. Otherwise, leave ‘em behind.
What happens if a piton fails during a fall?
Let’s not find out. Always have backup anchors wherever possible.
Do I really need specialized pitons for ice vs rock?
Absolutely. Trying to force a rock piton into ice is like fitting square pegs in round holes—it’s not pretty.
Conclusion
Ice fall piton protection isn’t just another piece of gear—it’s your lifeline. From understanding their role to mastering placement techniques, every detail counts. So next time you’re eyeing a frozen waterfall, remember: preparation saves lives.
And now, because nostalgia never hurt anyone:
Whirrrr, goes the hammer,
A sharp cling echoes loud—
Mountains whisper back.

