
Ever felt like you were wrestling an alligator while trying to place a climbing piton in a wide crack? Yeah, us too.
Wide cracks are both a blessing and a curse—endlessly challenging but oh-so-rewarding when mastered. Whether you’re new to adventure gear or already a seasoned climber, Wide Crack Anchoring is a critical skill every climber needs to conquer. In this guide, we’ll dive into the ins and outs of effective anchoring with climbing pitons, from choosing the right equipment to executing flawless placements. You’ll walk away knowing how to tackle even the widest of cracks with confidence.
Table of Contents
- Key Takeaways
- The Problem With Wide Cracks
- Step-by-Step Guide to Mastering Wide Crack Anchoring
- Top Tips for Using Climbing Pitons Effectively
- Real-Life Examples: Success Stories From the Crags
- FAQs About Wide Crack Anchoring
Key Takeaways
- Wide cracks require specific techniques and gear like climbing pitons for safe anchoring.
- Correct placement and testing are crucial for safety and success.
- Piton selection depends on rock type and crack dimensions—always choose wisely.
- Avoid common mistakes like over-torquing or using damaged pitons.
The Problem With Wide Cracks
“I swear I’m not Spider-Man!” yelled Alex after failing epically at securing his first anchor in a wide crack during our Wyoming trip last summer. Sound familiar?
Wide cracks pose unique challenges because they’re too big for cams and nuts but often require something smaller than bouldering-style stacks. It’s easy to feel stuck between a rock and… well, another rock. Add in unpredictable weather conditions or slick surfaces, and suddenly your climbing day feels more like a survival test.

Image: A climber attempting (and failing) to secure an anchor in a notorious wide crack.
Step-by-Step Guide to Mastering Wide Crack Anchoring
Here’s where things get good. If you follow these steps, you’ll be well on your way to becoming a wide-crack wizard:
1. Assess the Crack First
Optimist You: “Let’s go straight in!”
Grumpy You: “Ugh, fine—but only if you’ve checked the crack thoroughly first.”
- Examine its depth, width, and texture.
- Look for any loose flakes or unstable edges that could compromise your anchor.
2. Choose Your Pitons Wisely
Steel vs. aluminum? Large offset or standard taper? The material matters depending on the rock hardness. For granite, steel pitons work wonders; limestone might need aluminum options instead.
3. Place Without Rushing
Taking your time here can save your life later. Hammer gently until snug—not Hulk-smash style unless necessary—and check stability before trusting it completely.
4. Test Before Committing
Pull hard on each piece individually. Does it hold firm? Great. Feels wobbly? Start again.
Top Tips for Using Climbing Pitons Effectively
- Inspect Equipment Regularly: Dents, rust, or bent metal = no bueno.
- Carry a Variety: Bring multiple sizes because one size rarely fits all.
- Use Proper Tools: A lightweight hammer makes all the difference; don’t rely on hefty construction hammers.
Rant Section: Pitfall Alert!
Can we talk about how annoying it is when climbers just hammer away blindly without assessing their surroundings? Random damage left behind ruins routes for everyone else. Please, think twice before pounding that piton home recklessly—it’s literally leaving scars on Mother Nature.
Real-Life Examples: Success Stories From the Crags
We met Sarah at Red Rocks who learned the ropes of wide crack anchoring through trial by fire. After several missteps early on (“That one *ding* sound still haunts me,” she joked), she eventually became known locally as the “Piton Queen.” Her secret? She always carries an arsenal of different-sized pitons AND knows exactly which ones fit best based on her route.
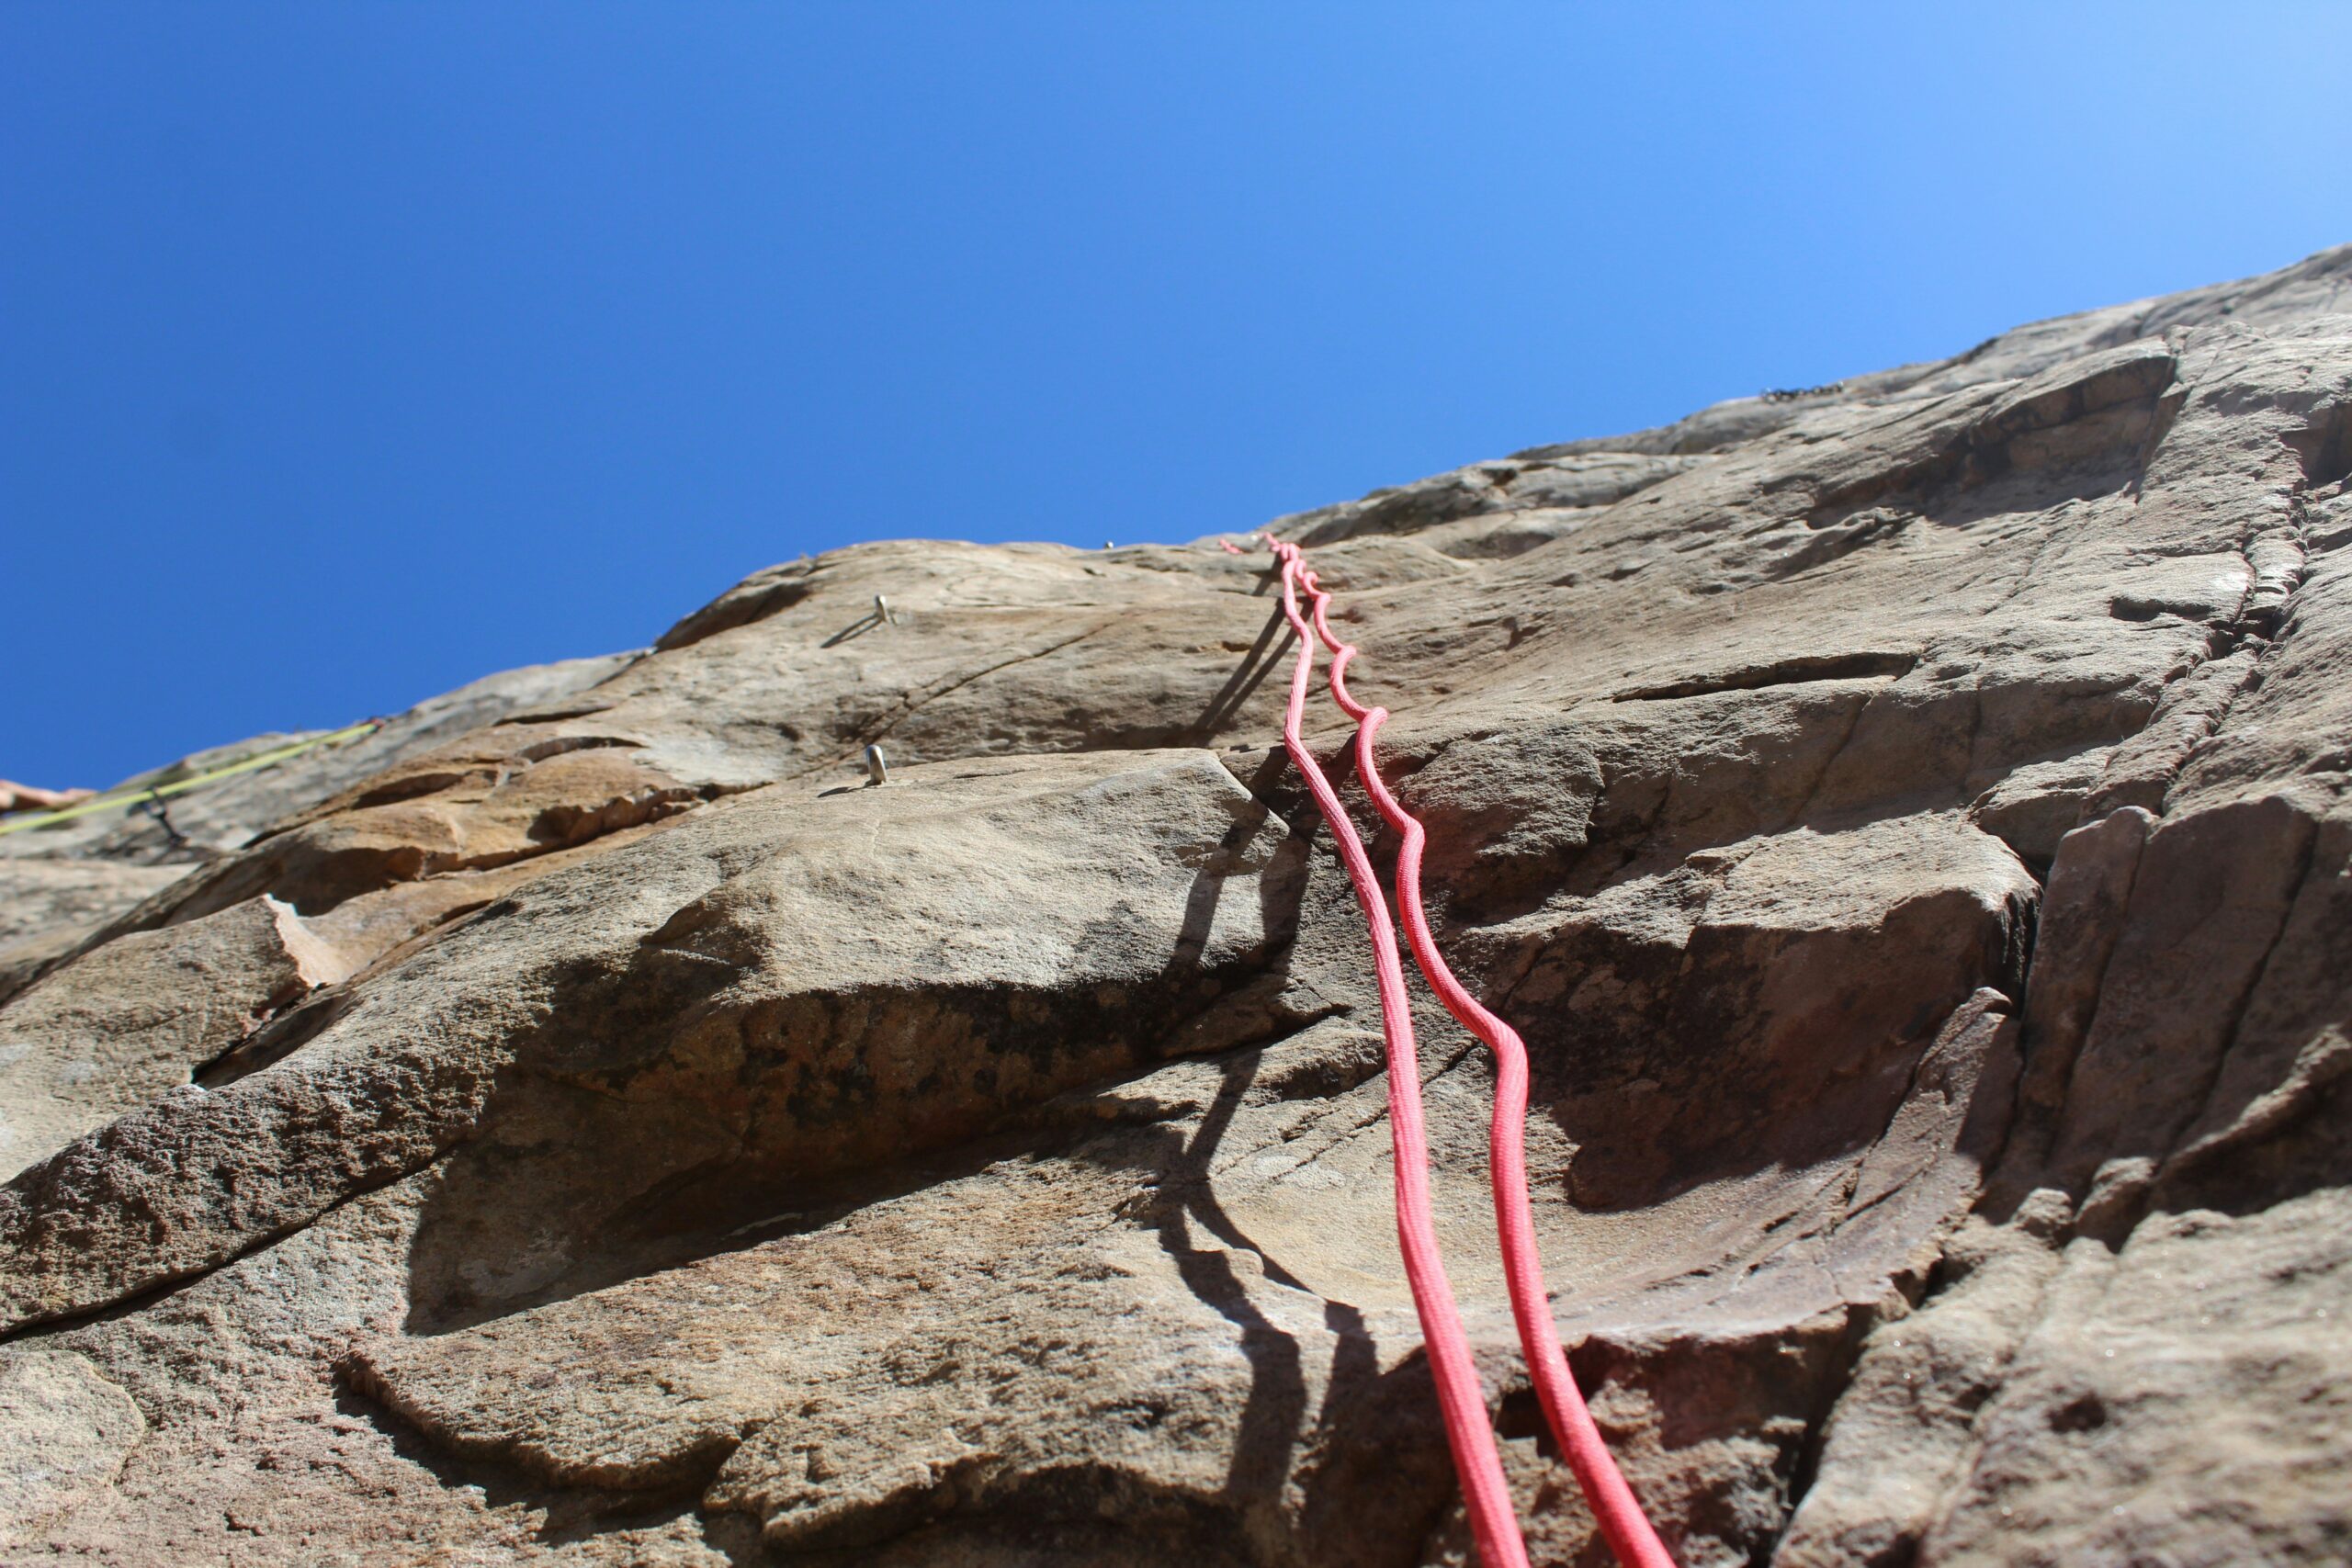
Image: Climbers celebrating after perfectly placing multiple pitons in a wide crack.
FAQs About Wide Crack Anchoring
Q: How do I know if my piton placement is secure?
A: Test it rigorously! Pull sideways and downwards against the intended load direction. If it moves even slightly, reposition immediately.
Q: What’s the worst mistake someone can make?
A: Aside from obvious dangers like using broken gear, many climbers fail due to poor planning or rushing their setups. (Pro Tip): Always double-check everything twice.
Conclusion
There you have it, adventurers—the comprehensive guide to conquering Wide Crack Anchoring with confidence and flair. Remember, practice makes perfect, so start small and build up to those gnarly monster cracks. And hey, maybe next time you won’t feel like you’re arm-wrestling a grizzly bear mid-climb.
Nostalgia Alert: Like trying to beat level three on Super Mario 64, mastering this technique takes patience, persistence, and maybe a little extra coffee.
Steel meets rugged stone,
Anchors held tight against fate—
Freedom calls above.

